How to Paper Mâché
Welcome to my instructional on how to paper mâché! In this how to article I'll be going through the complete process from constructing the body to the paper mâché process, to painting and decorating. At the end of this you should have your very own paper mâché art piece! I've been making paper mâché for the past three years, and these are the methods I've found that work best for me—I hope they work well for you too. Have fun with it, and to get started, gather all your supplies:
Supply List
Main Materials
- Painters/masking tape
- Scrap paper (recycled paper or newspaper, but avoid anything thick like card stock)
- Elmers Glue
- Water
- Acrylic Paint
Tools
- Paintbrush(es)
- Tupperware bowl
- Disposable plastic bottle
- Table or flat surface
Optional
- Mod Podge (for finish)
- cardboard and scissors (for structural elements)
- Sculpture wire and aluminum foil (for structural elements)
- Empty containers (for base structure)
- Rocks or sand (to add weight)
- Pen or pencil (to assist painting)
- Decorative materials (use your imagination. Examples include: beads, ribbons, glitter, and found items.)
Creating the Body (Base Structure)
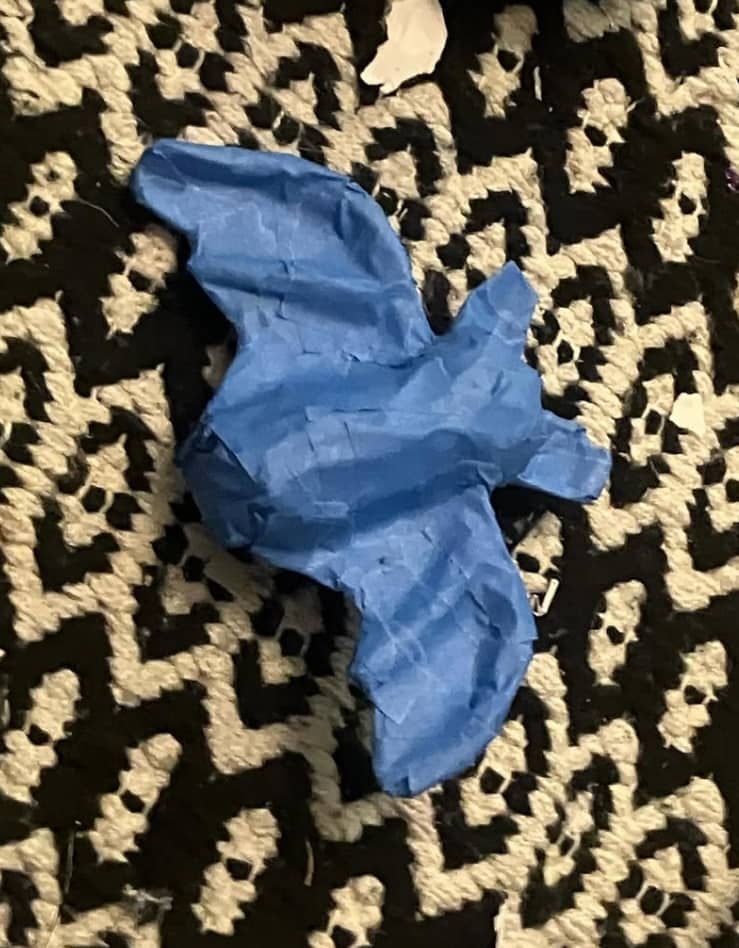
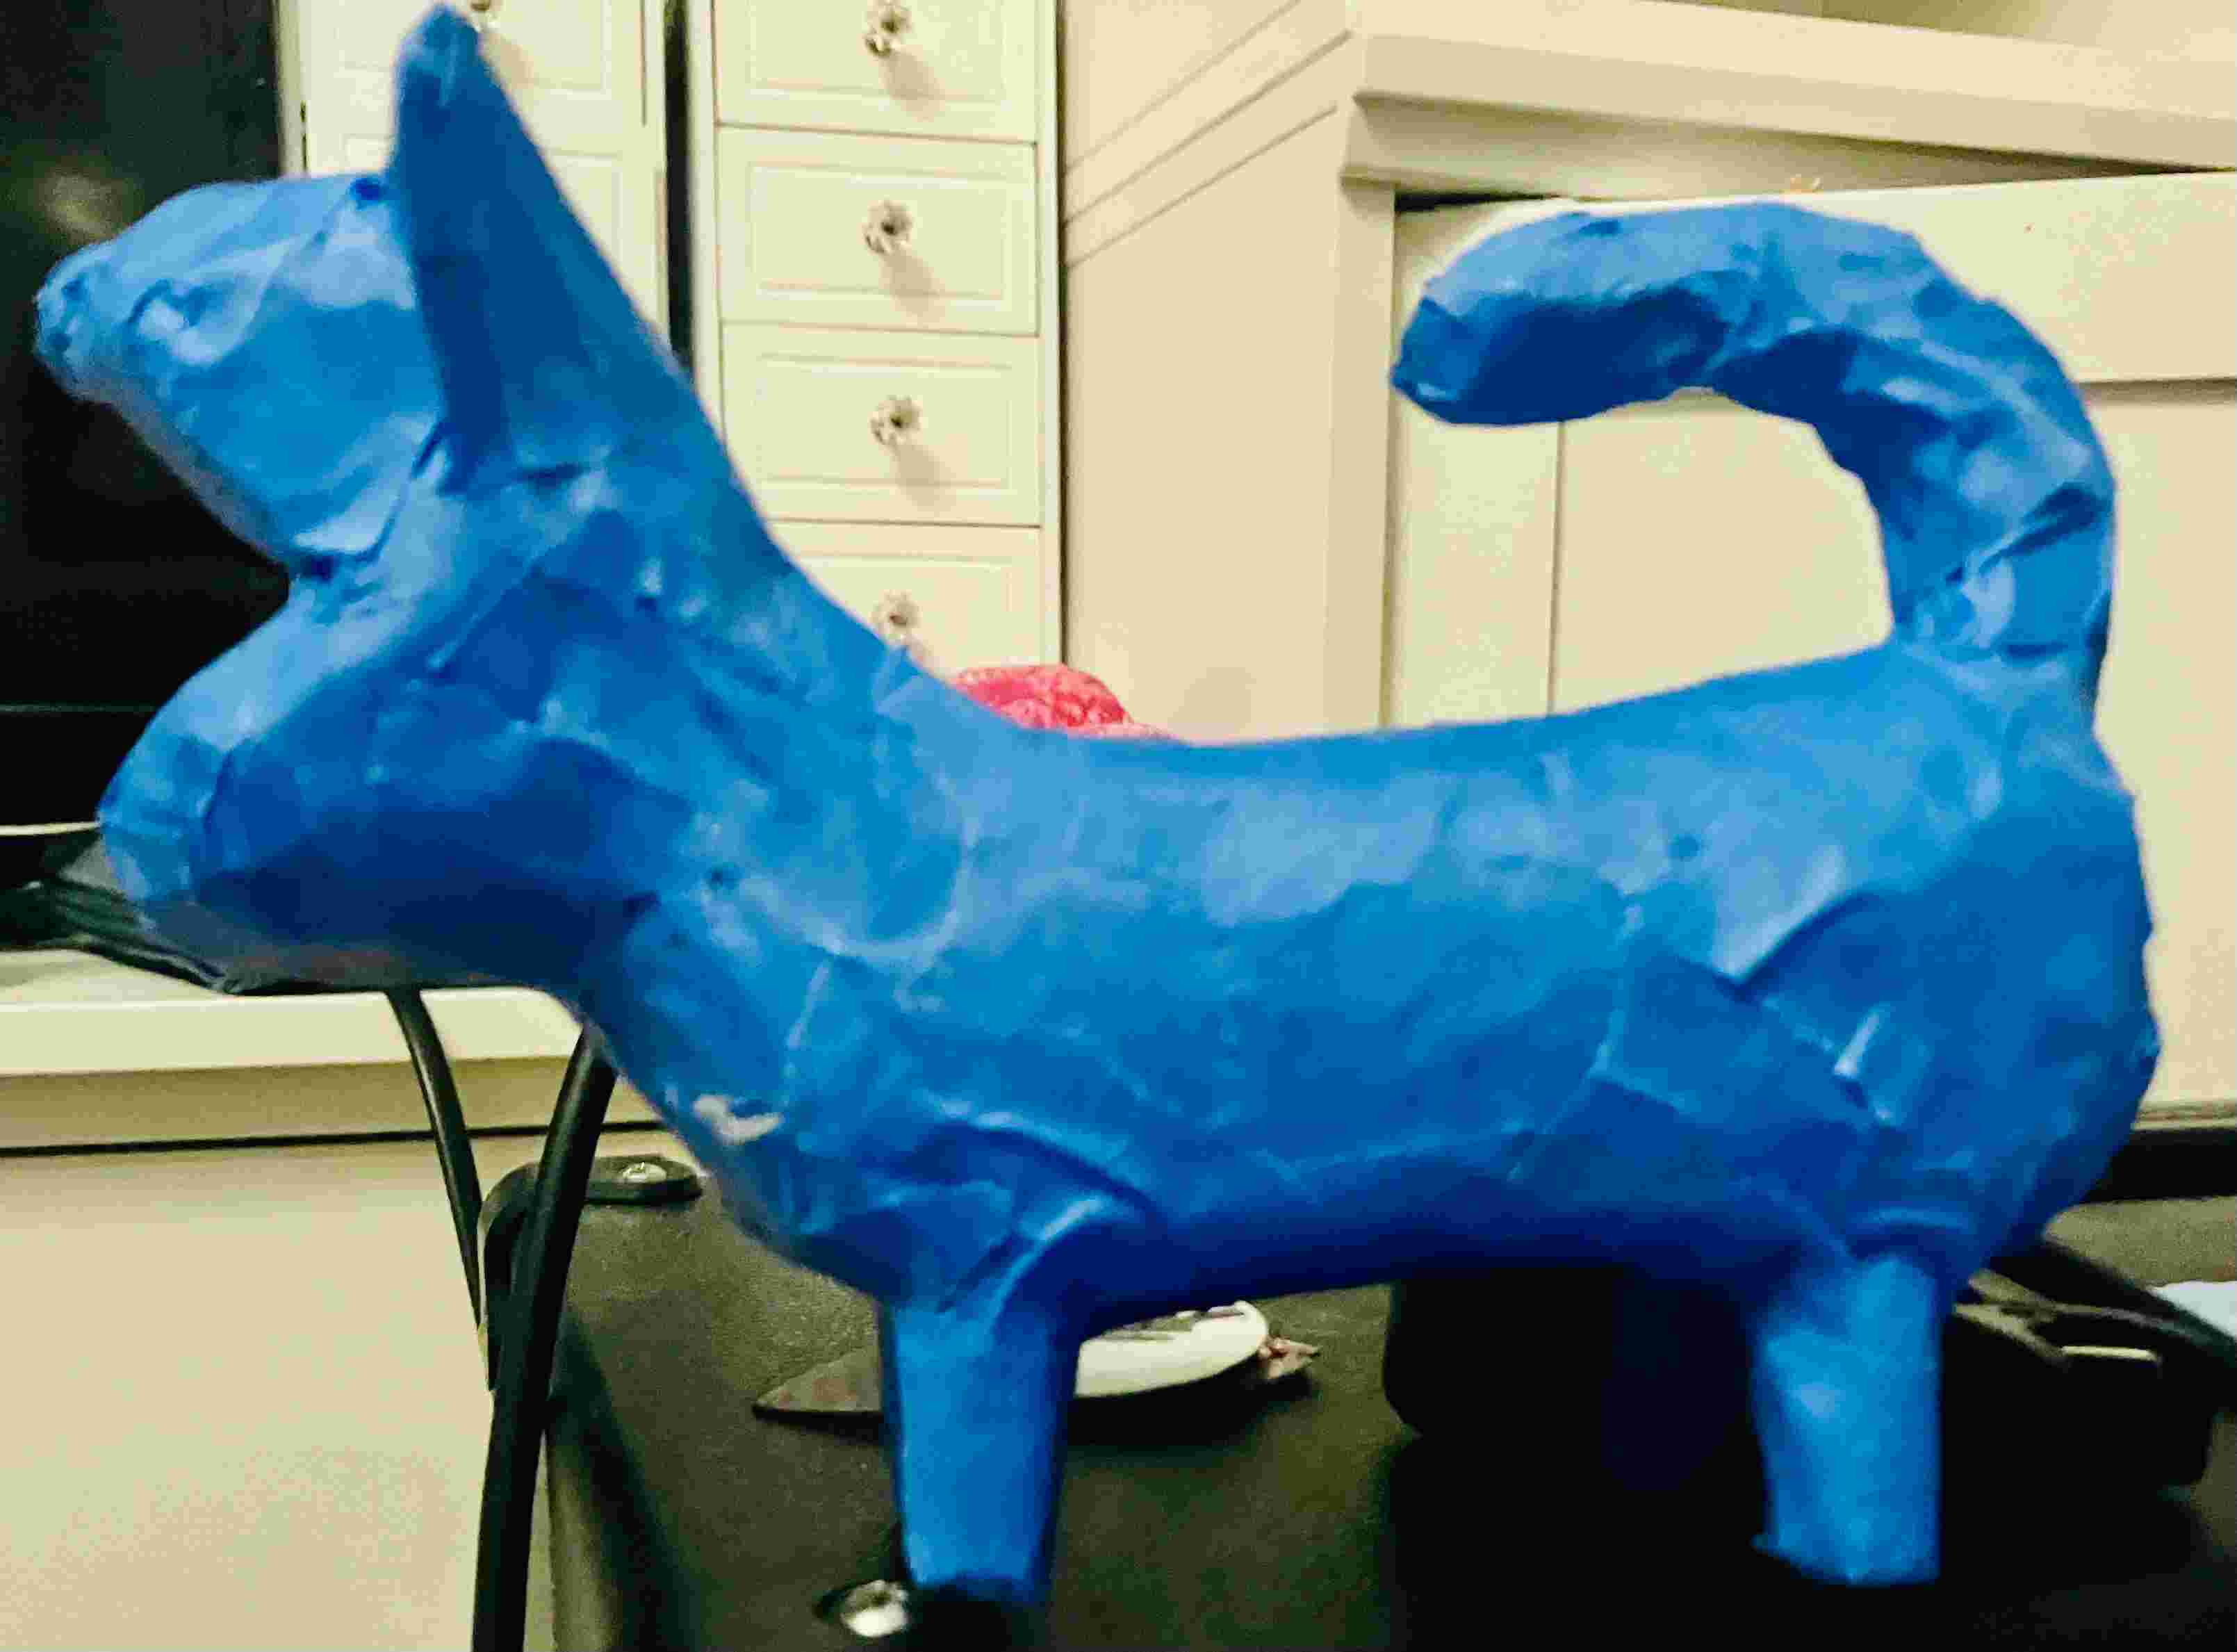
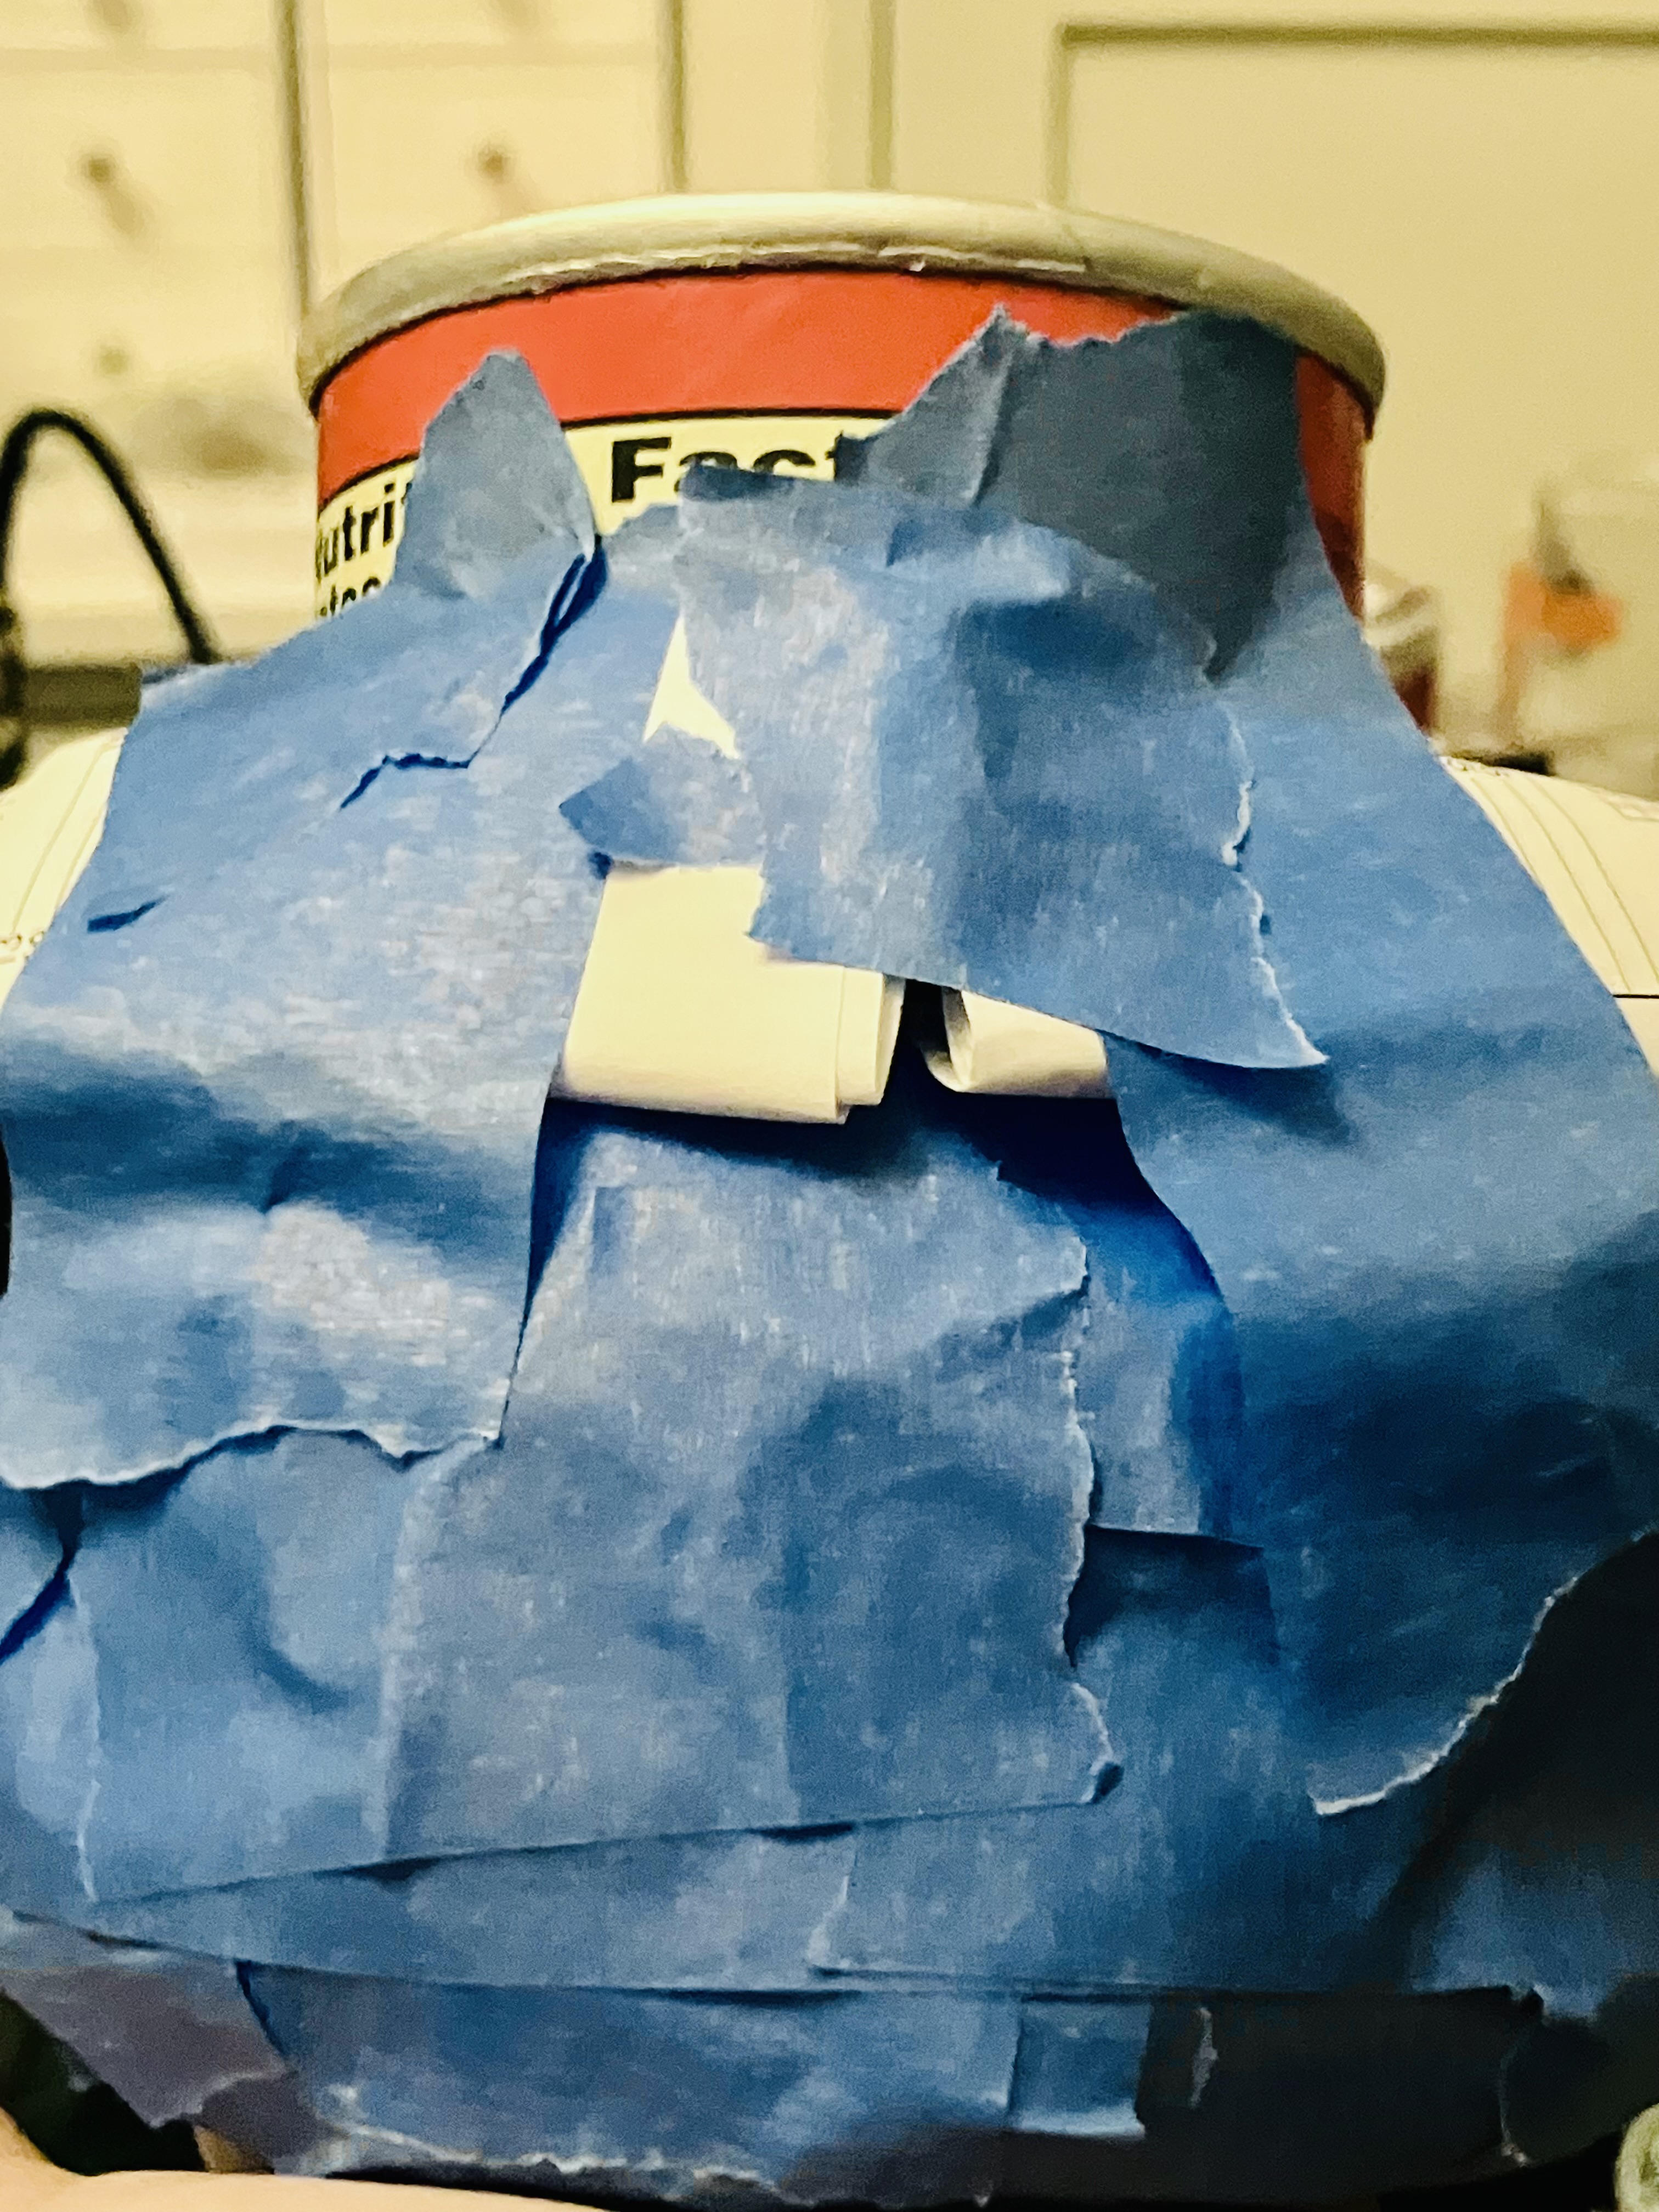
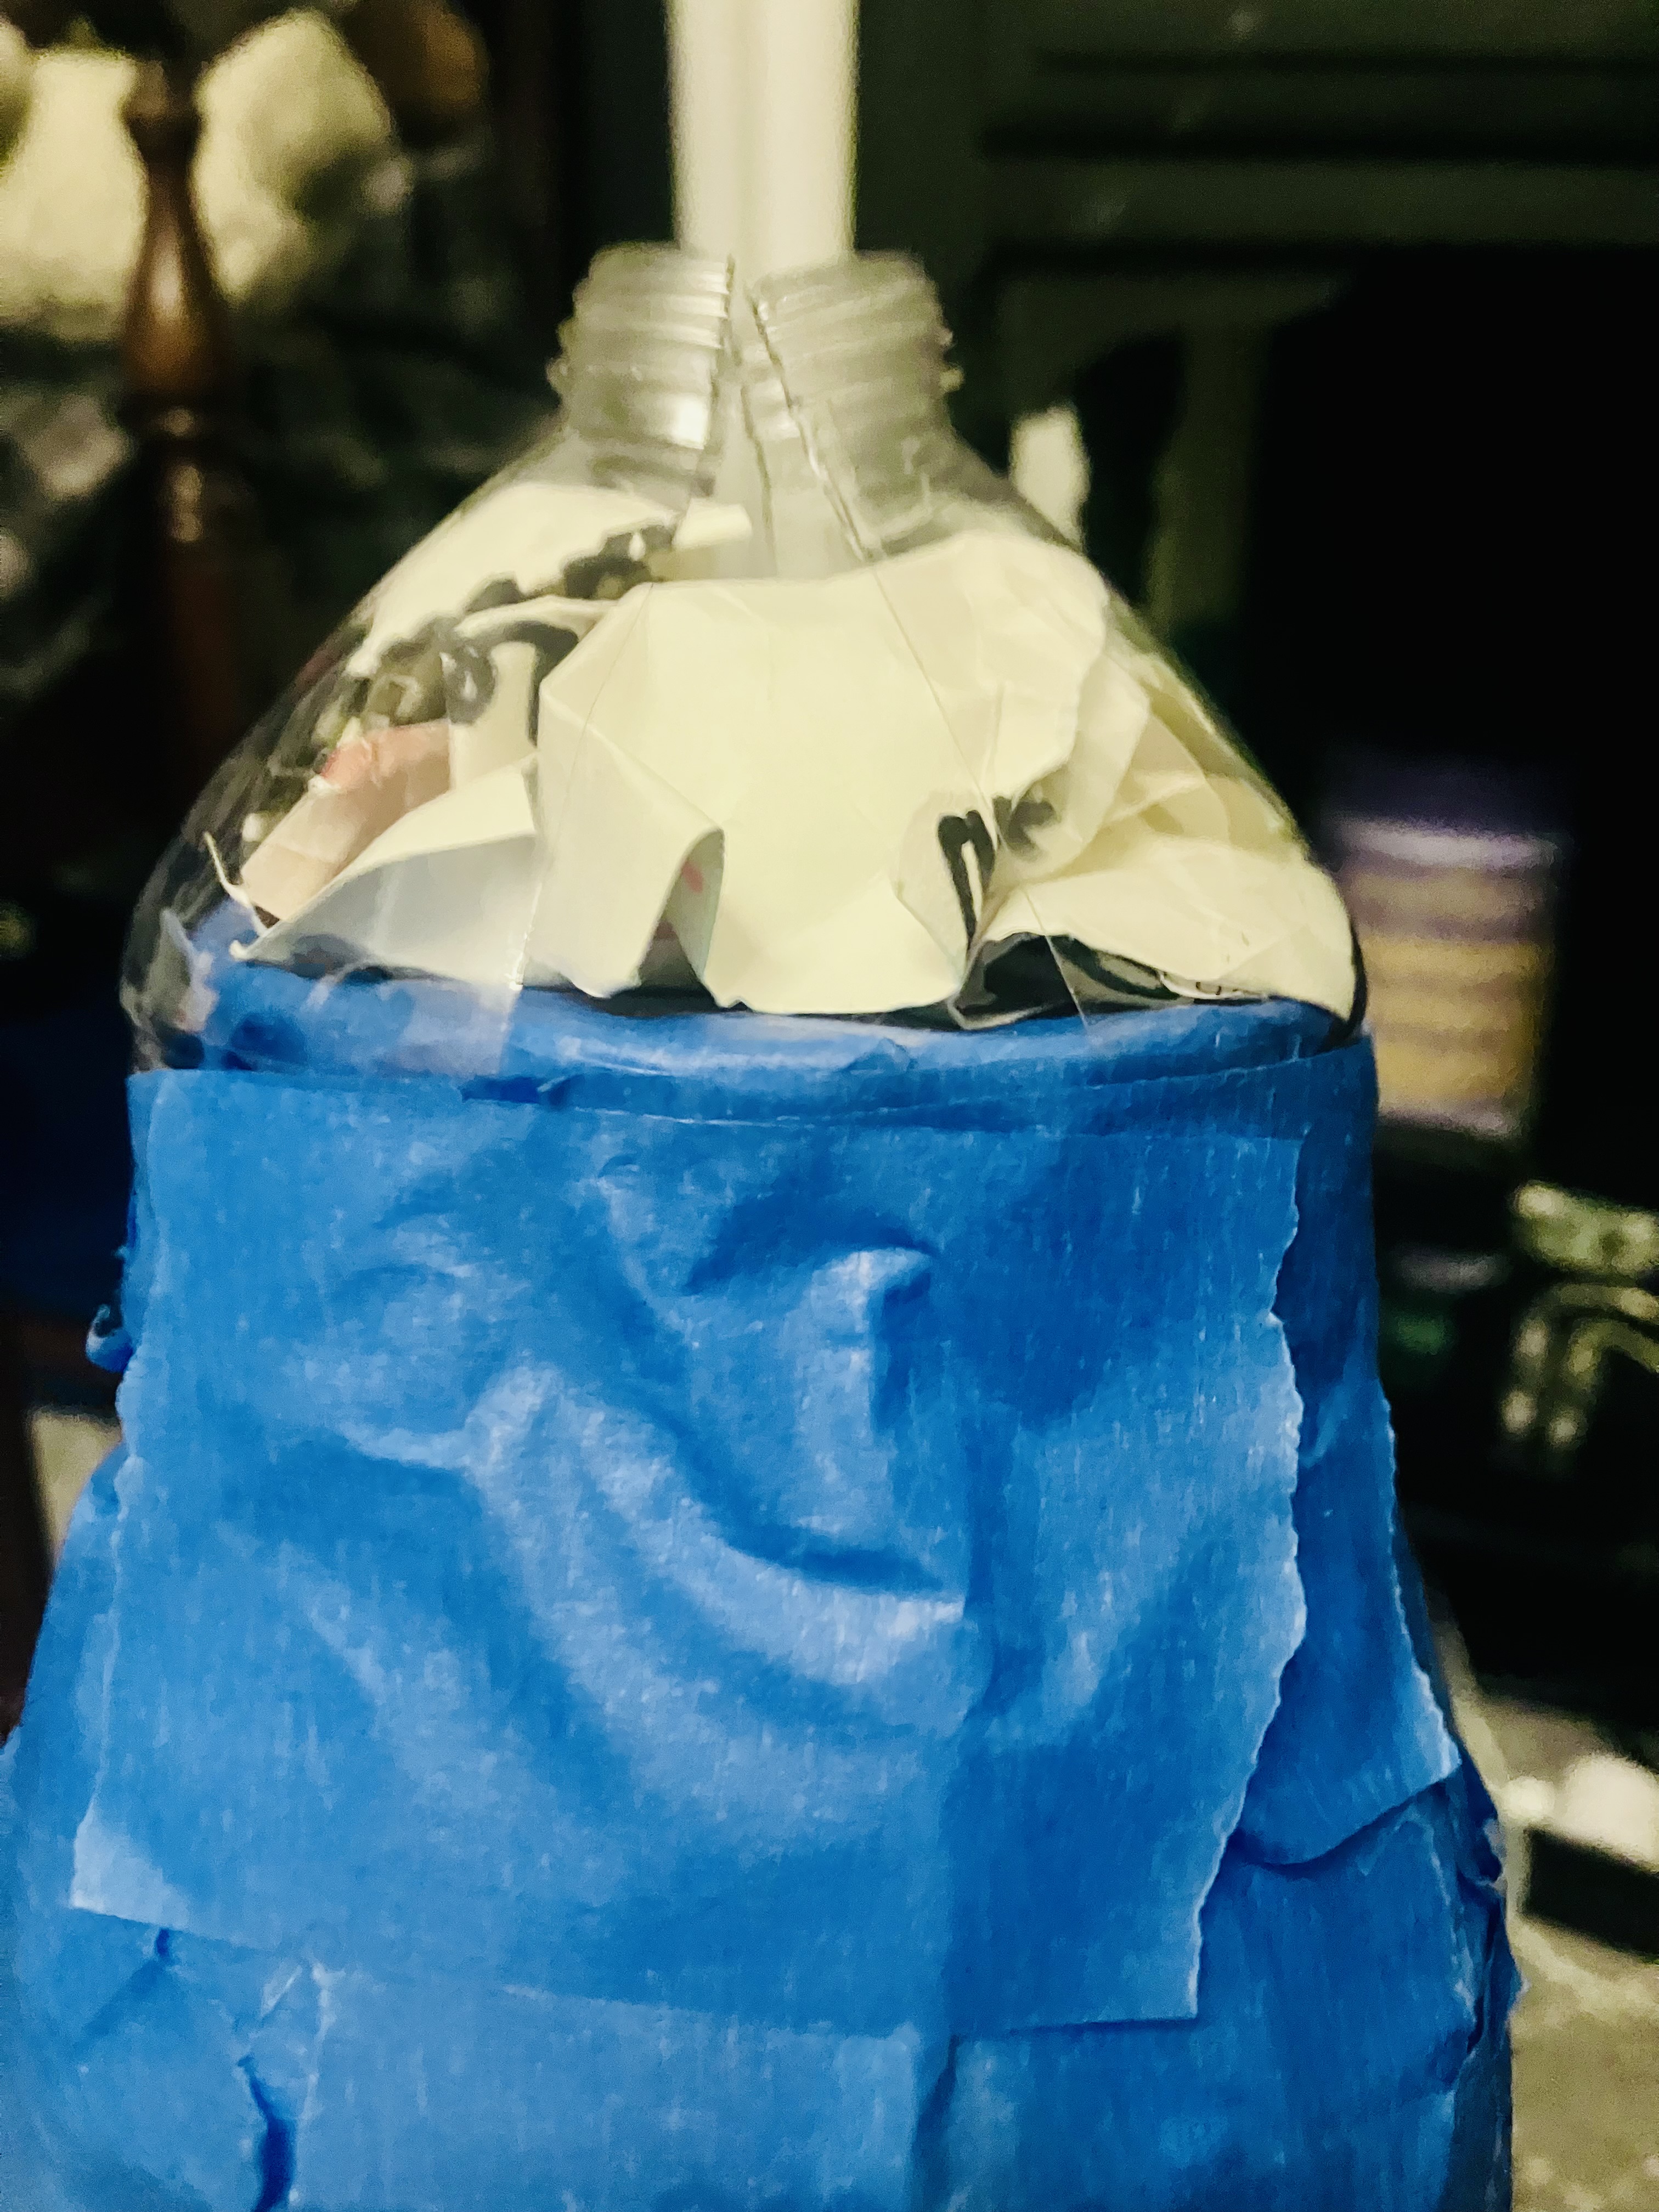
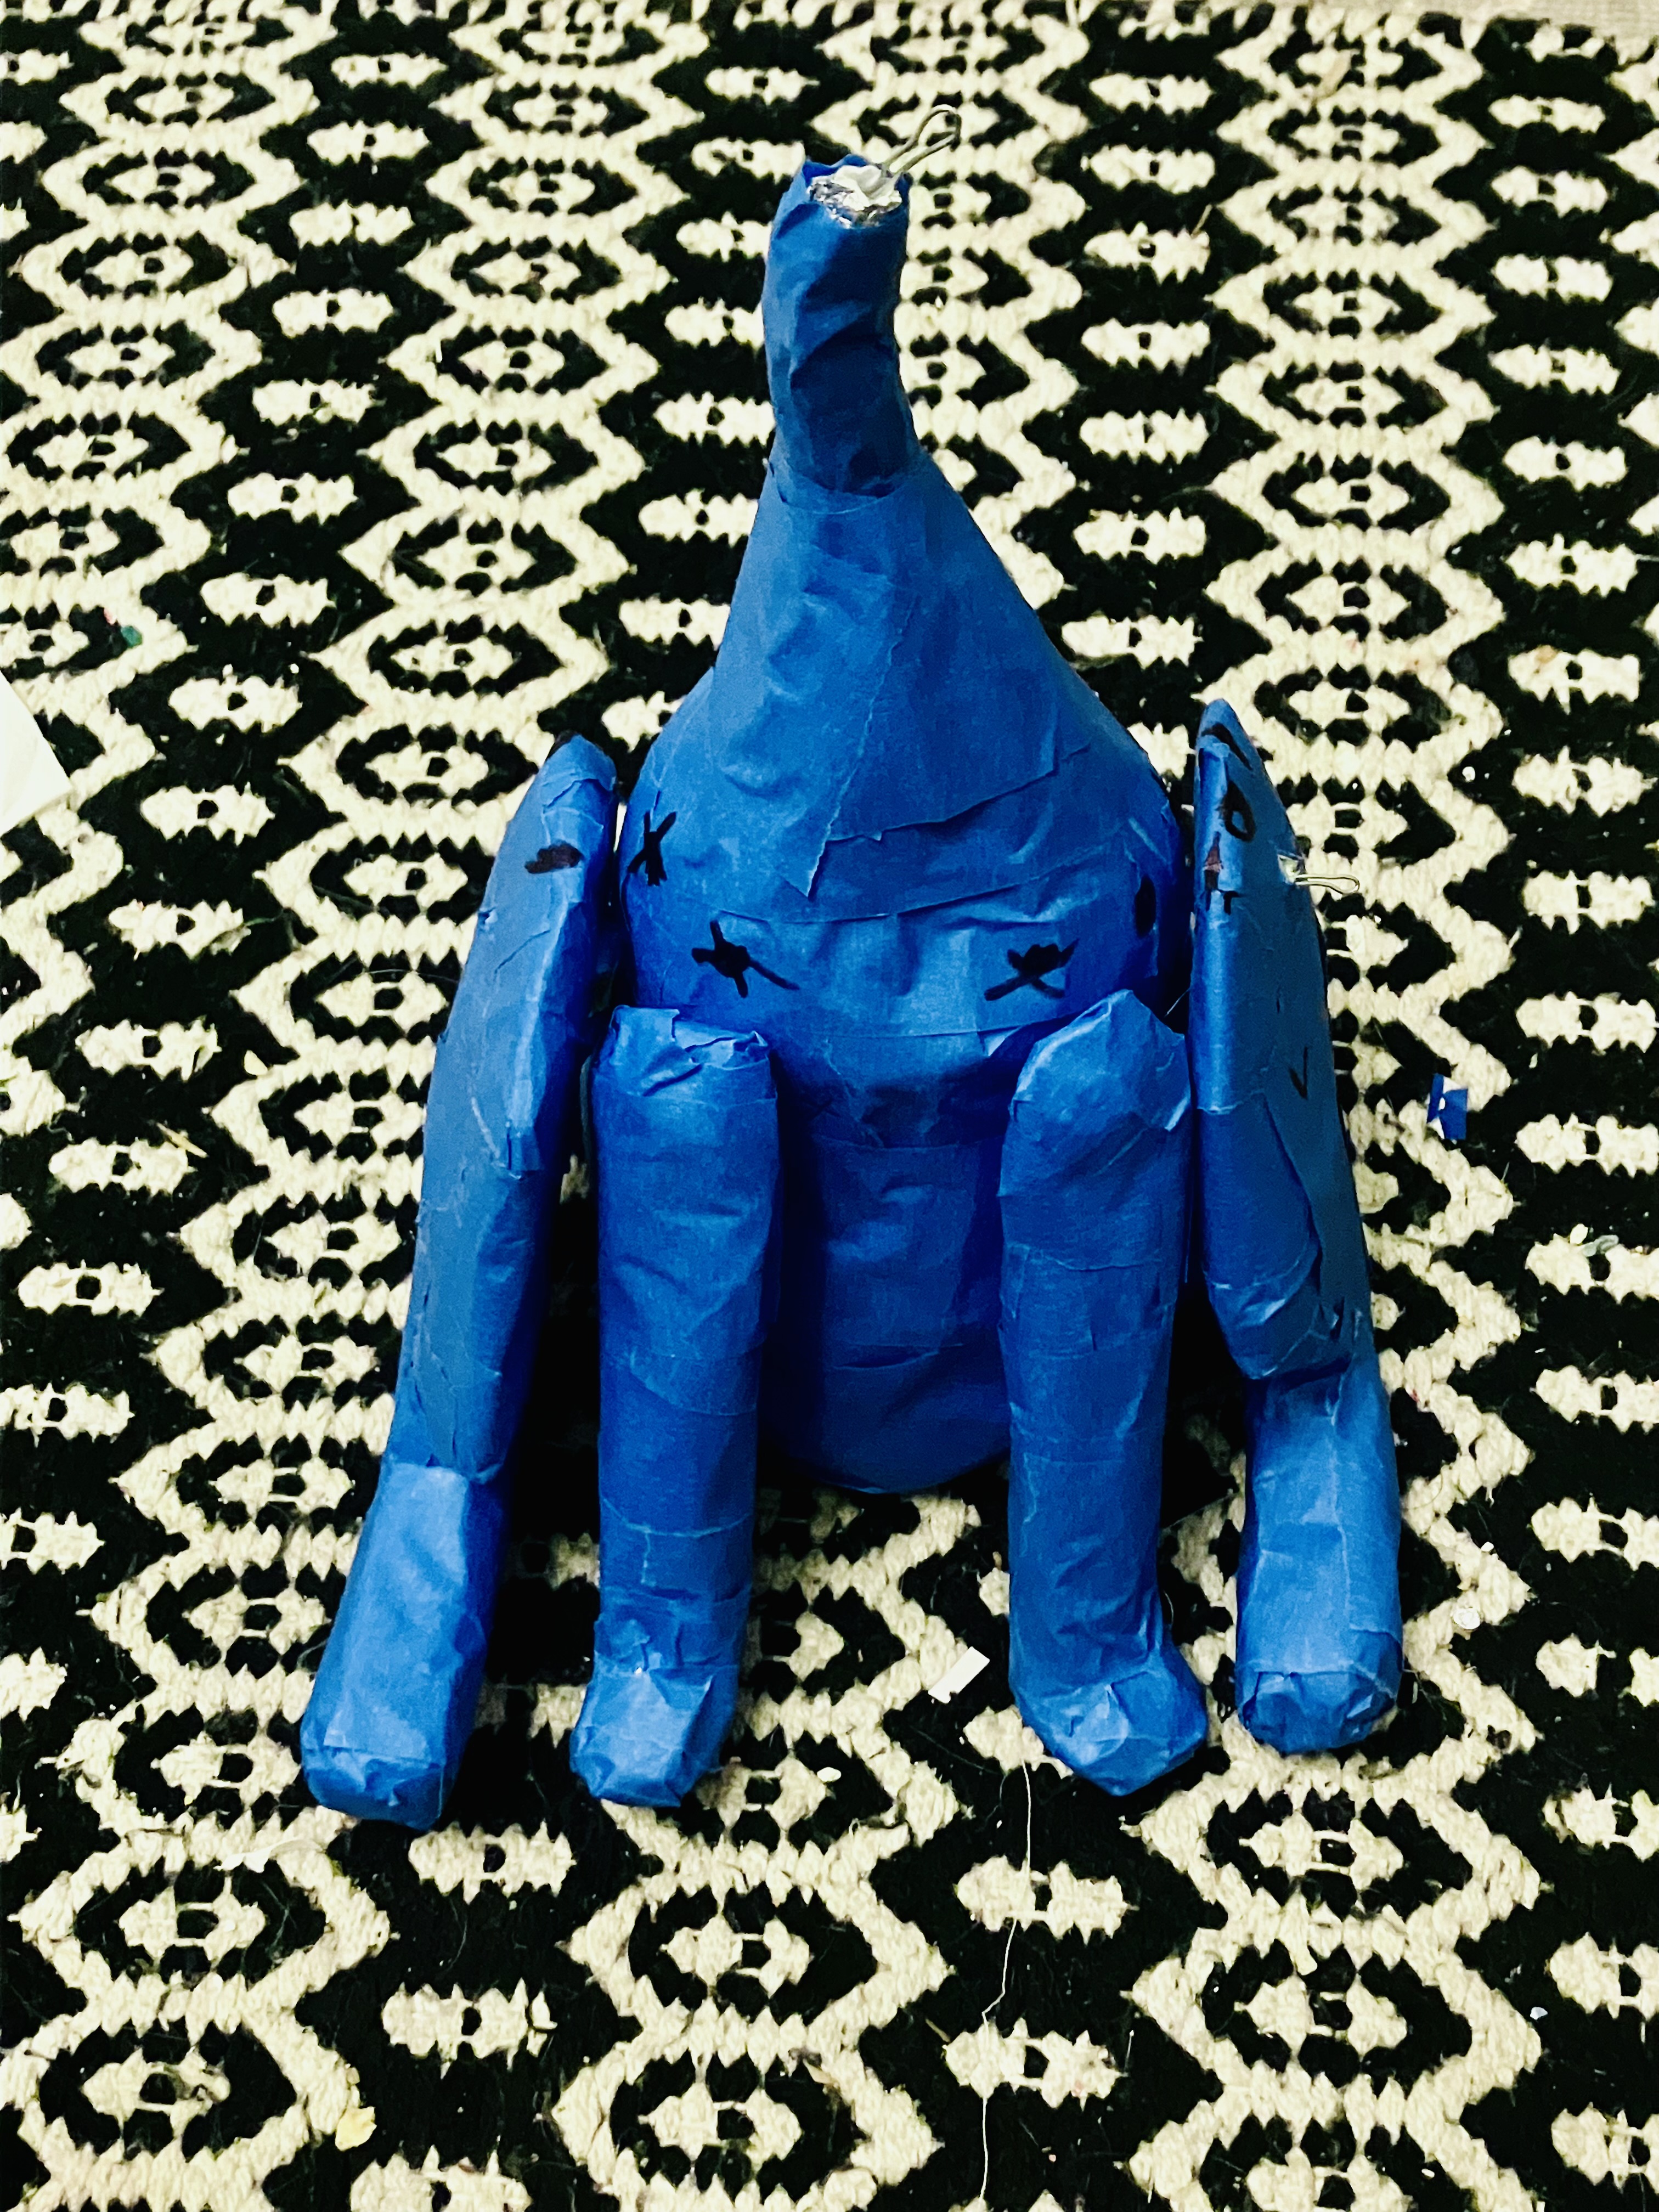
- Start by creating the body by using an empty container of your choice (if your design requires) and crumpled paper to create form, using masking tape to keep the shape and connect the elements together. Keep adding masking tape until the paper is mostly covered and secure. For the cat I based the shape around a Pringles can and the top of a plastic bottle, then used paper to create the general shape of the body.
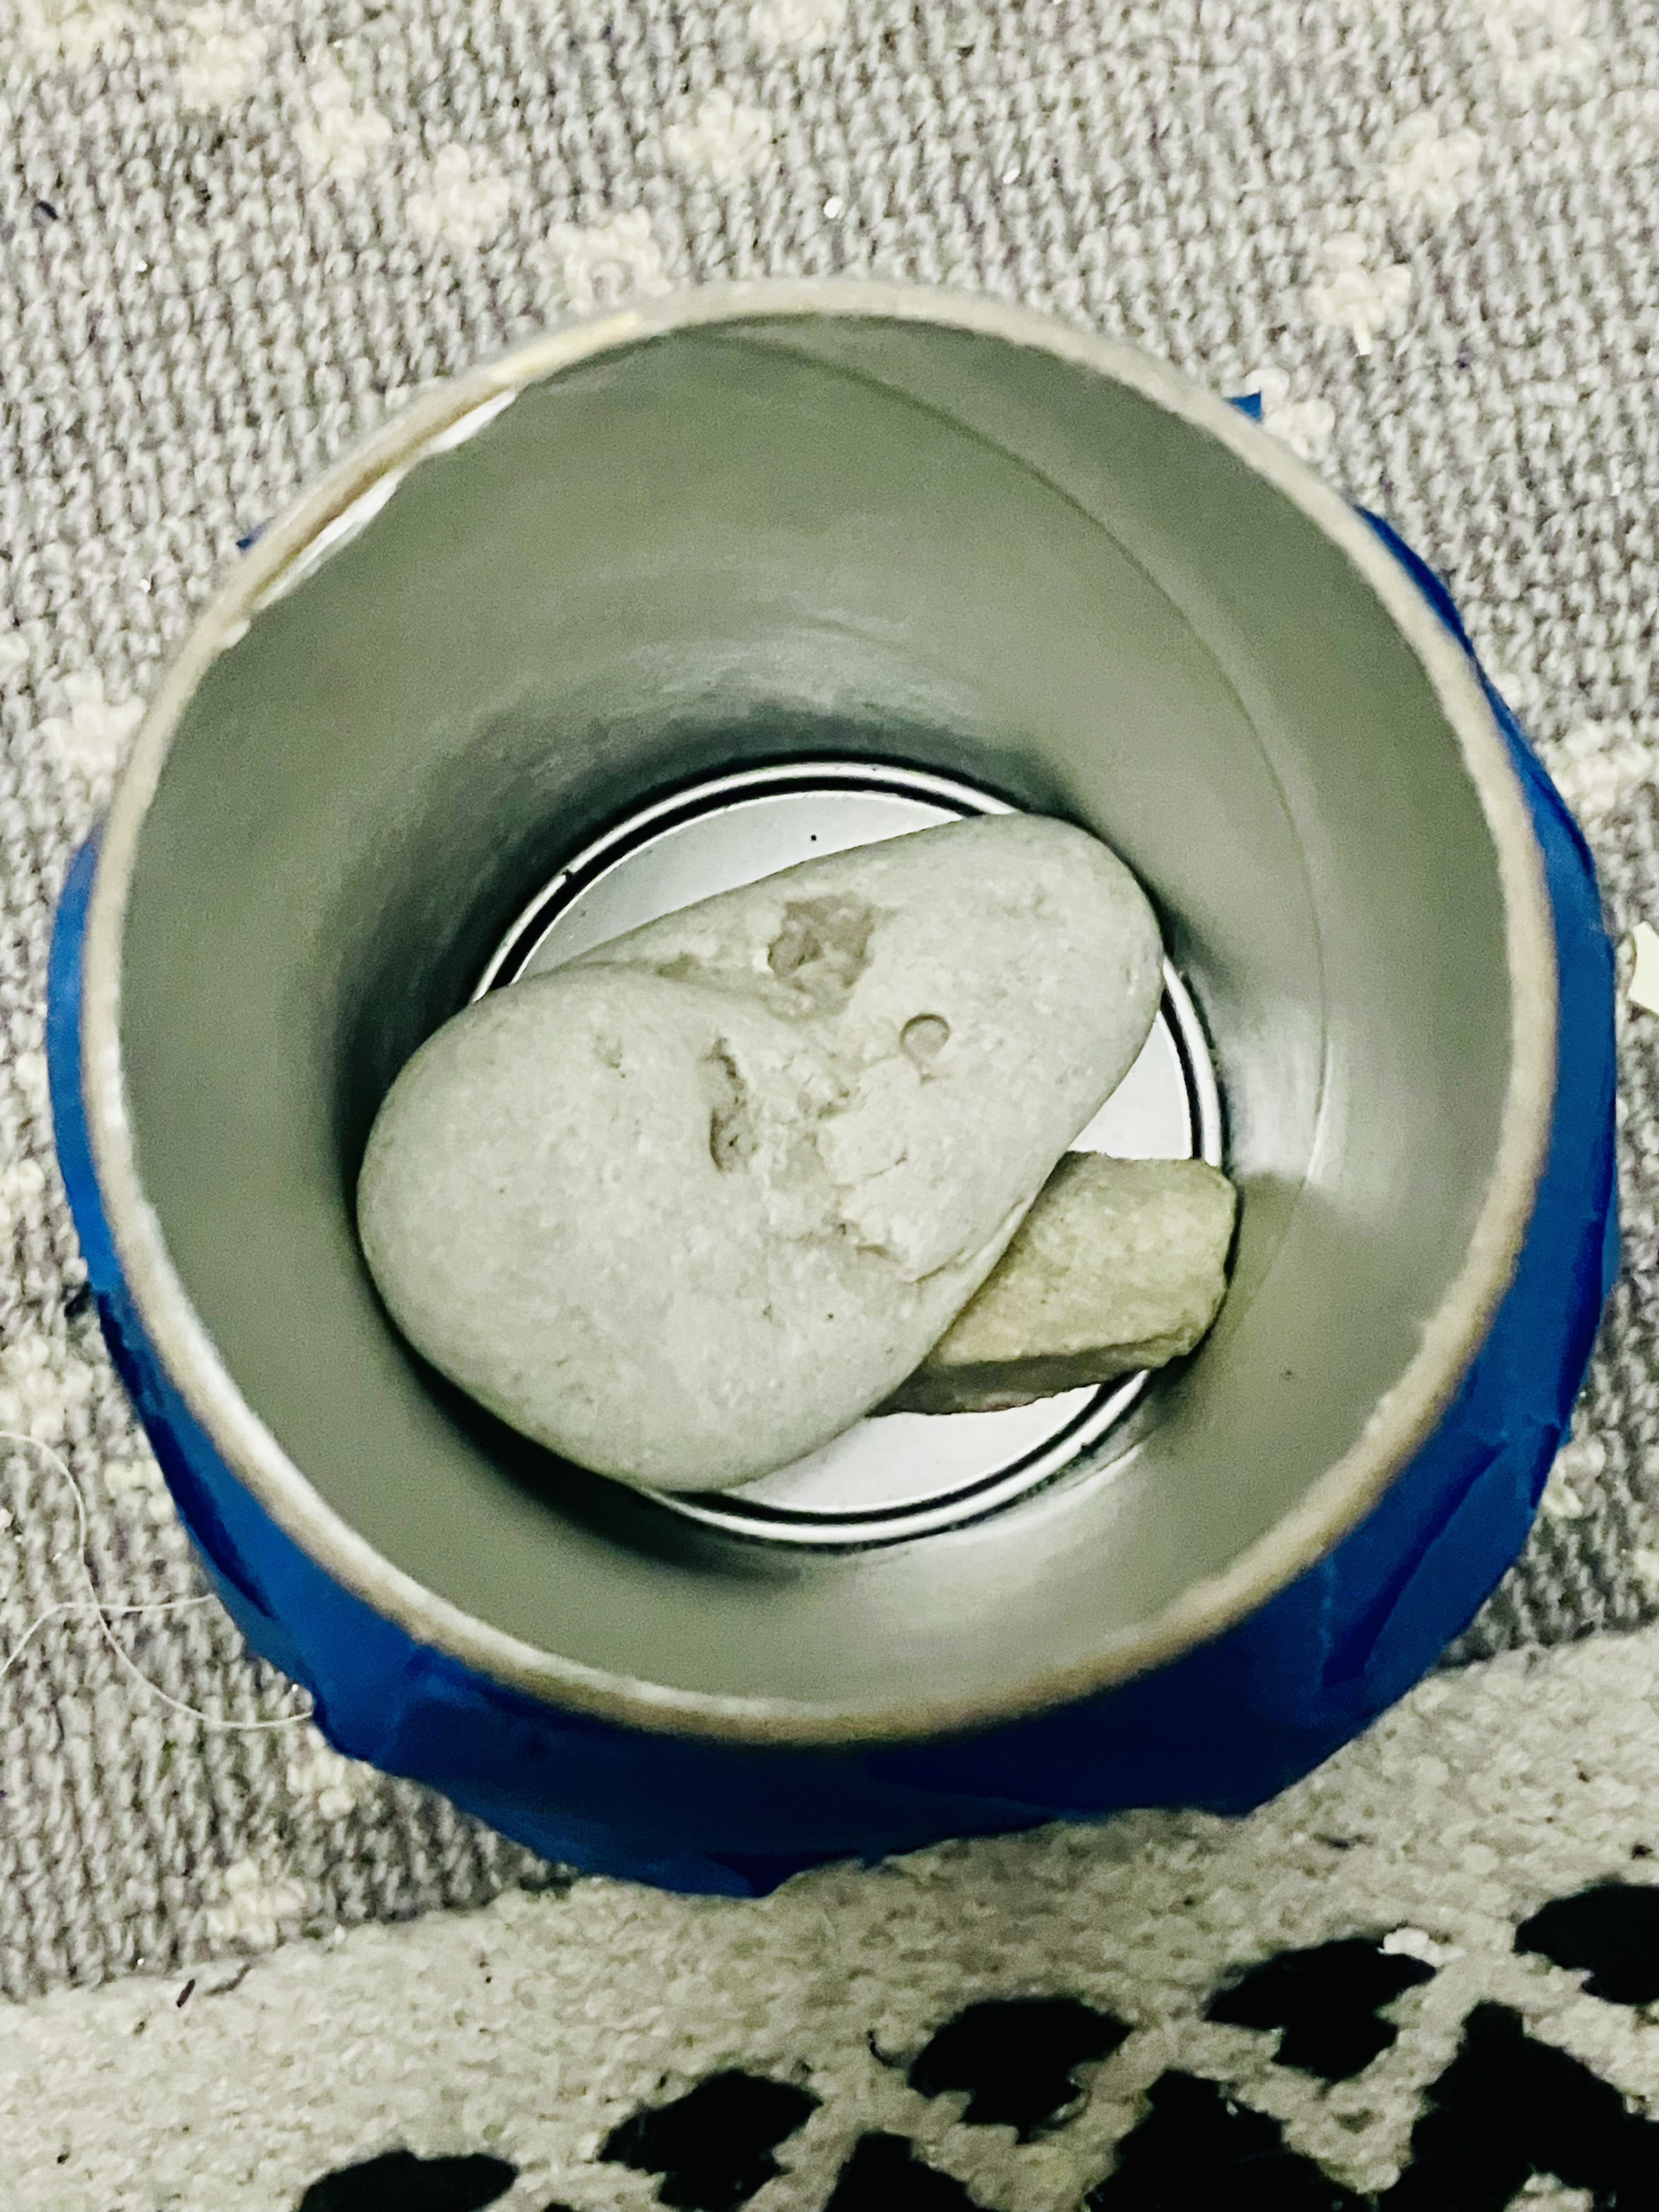
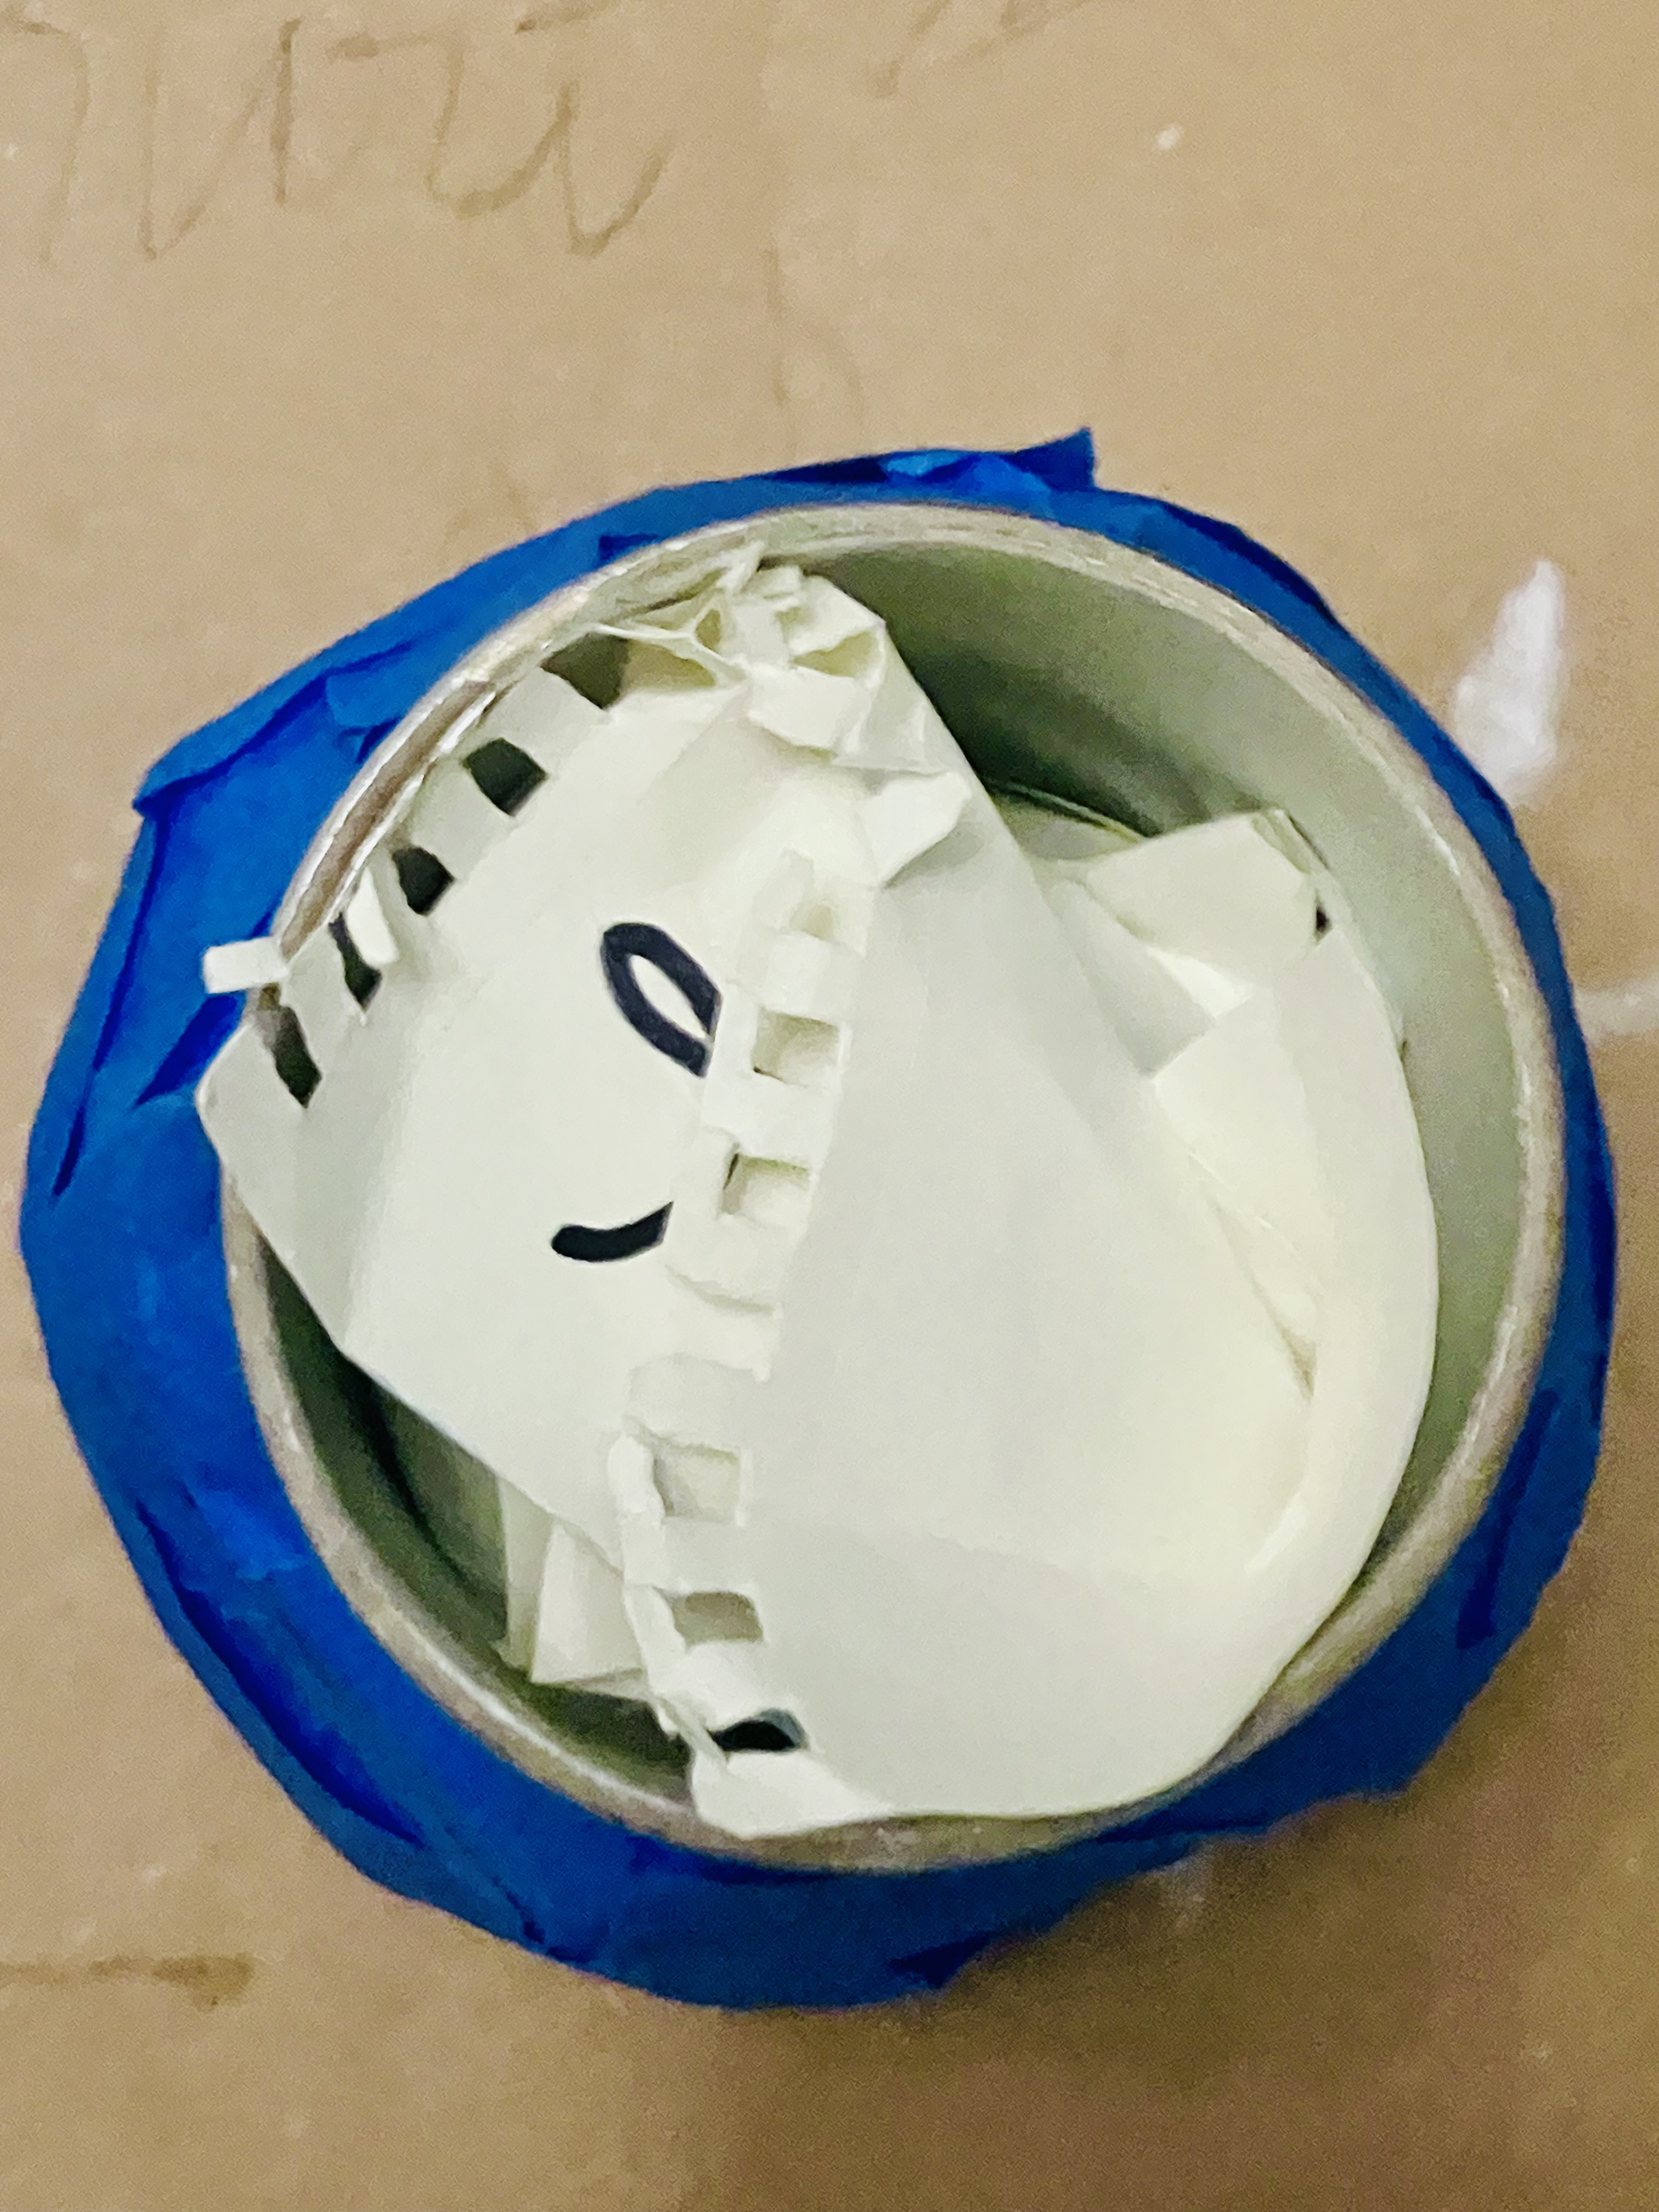
- For extra stability, add weight in the form of rocks or sand to the bottom of the structure or container. For the cat I added crumpled paper over the rocks in the can to keep it from jostling and turning into a maraca, but alternatively you could tape or glue the rocks down.
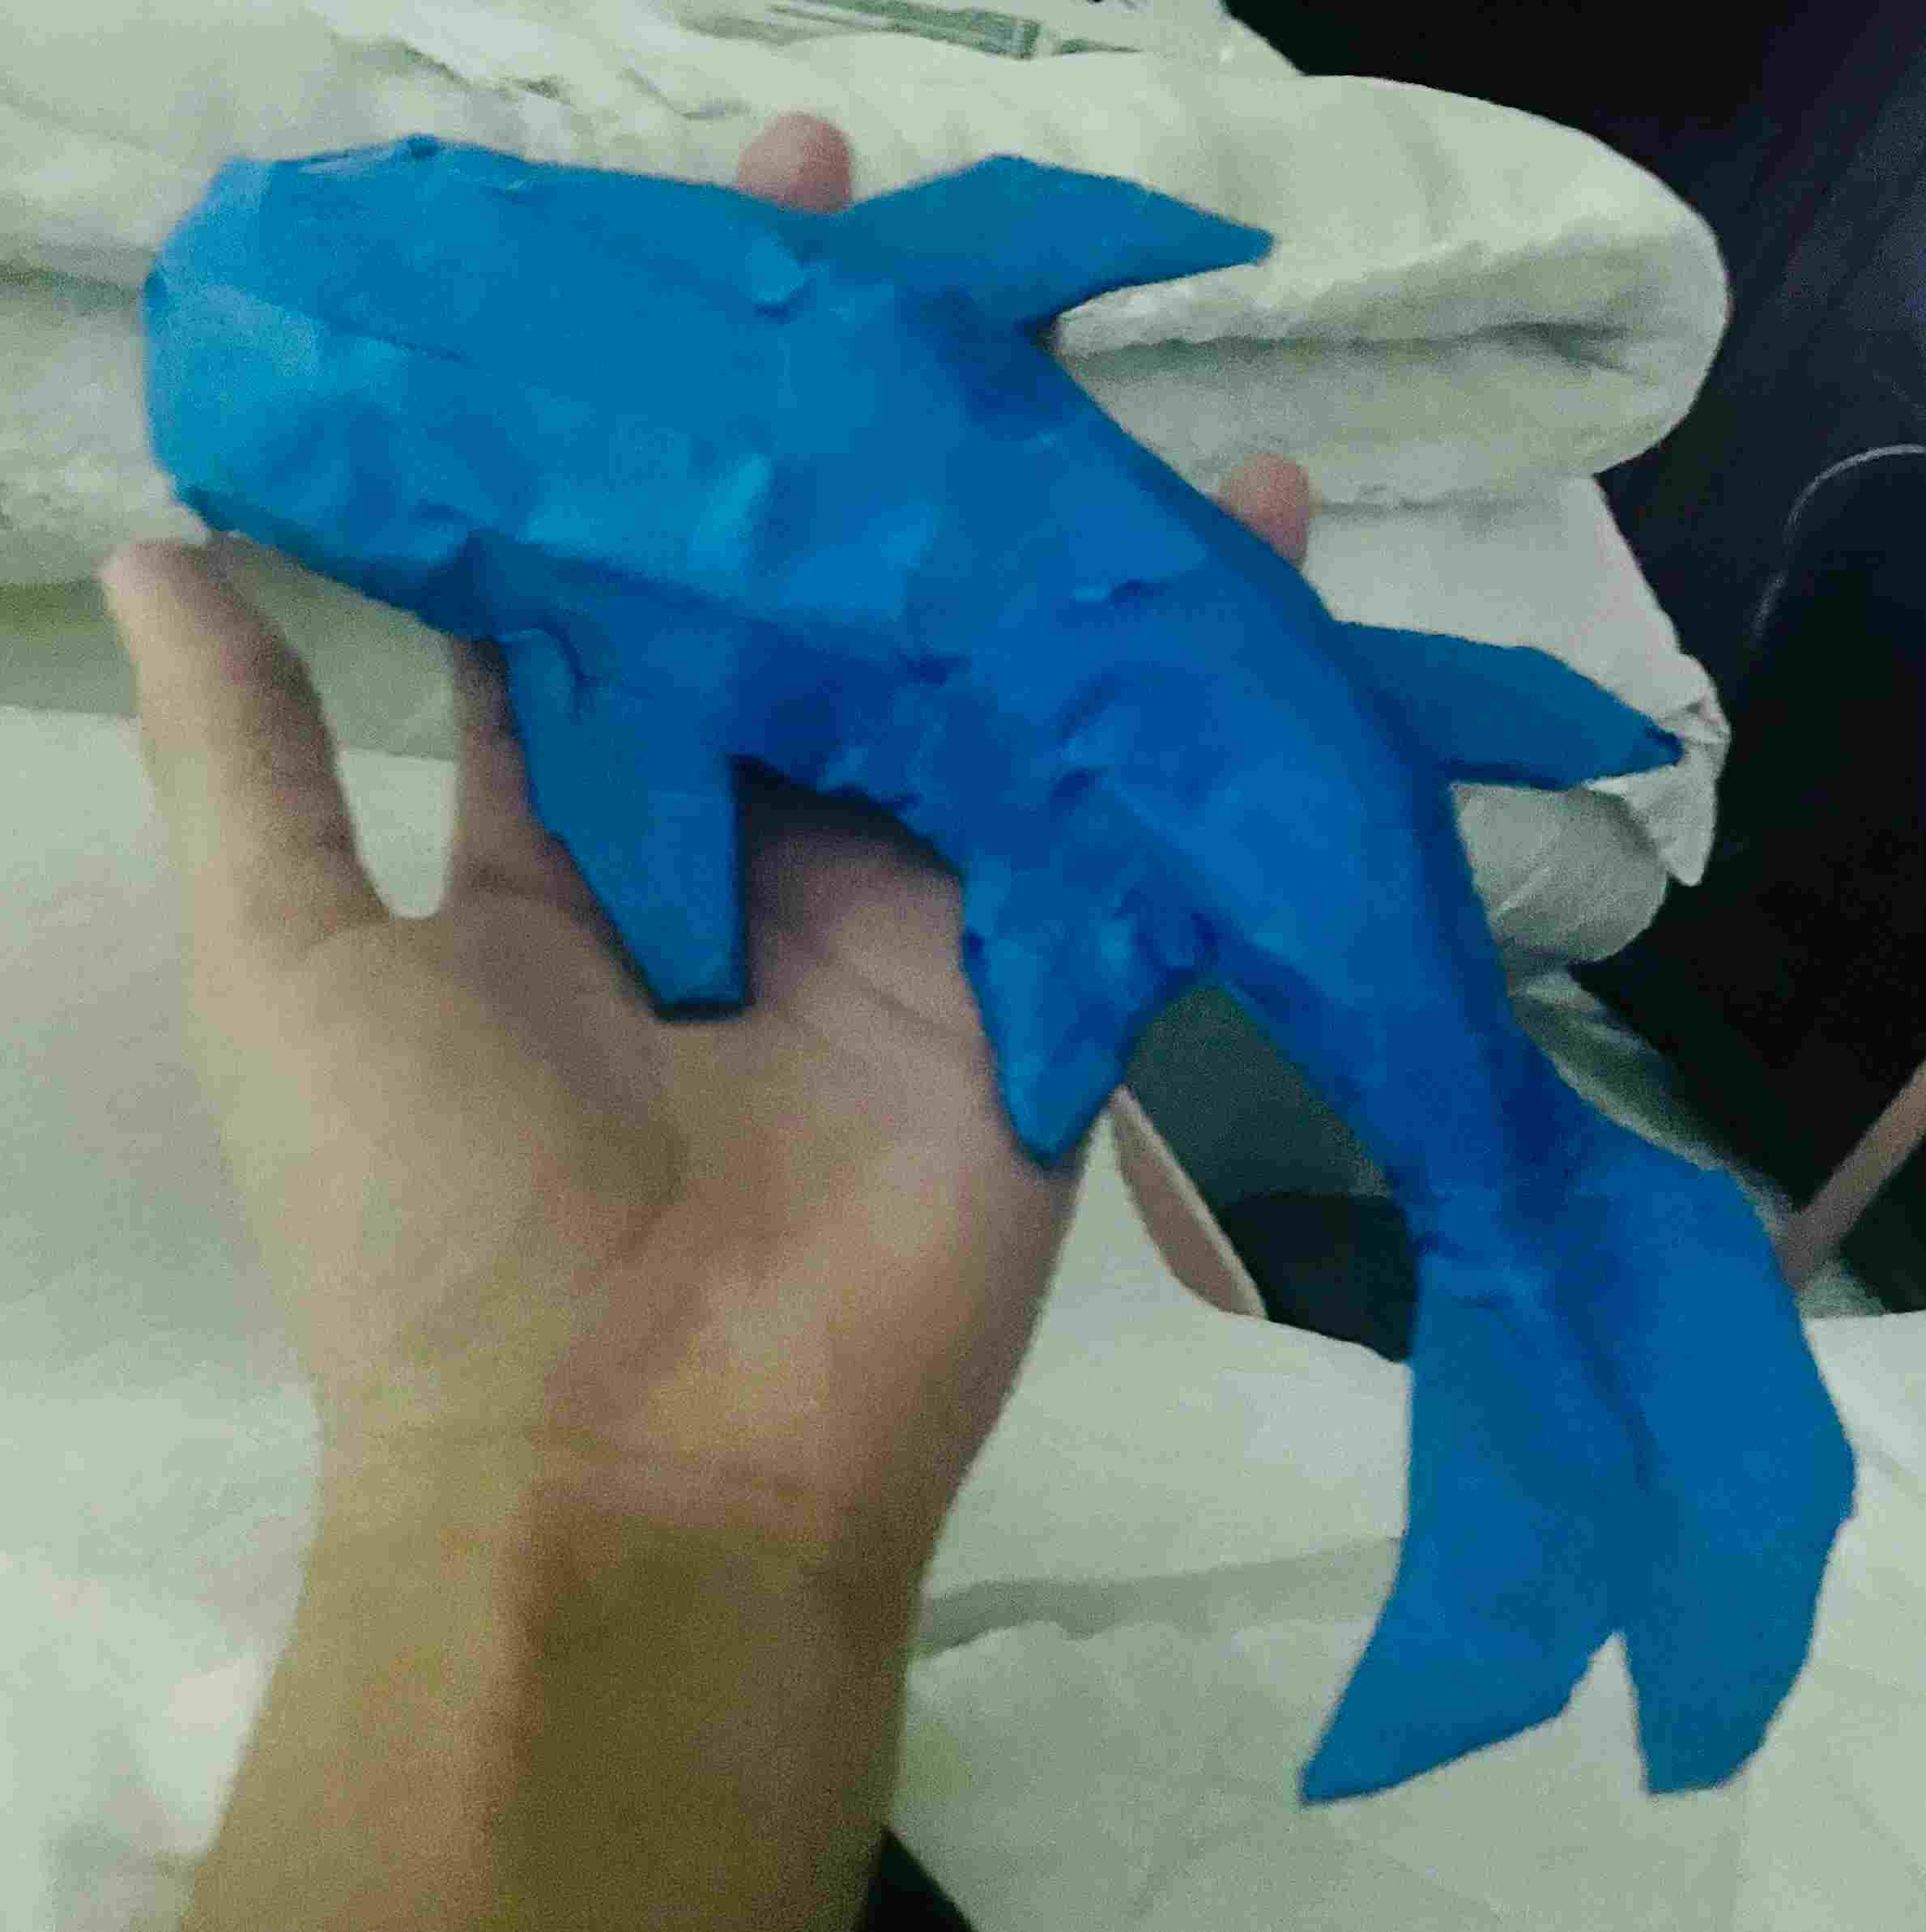
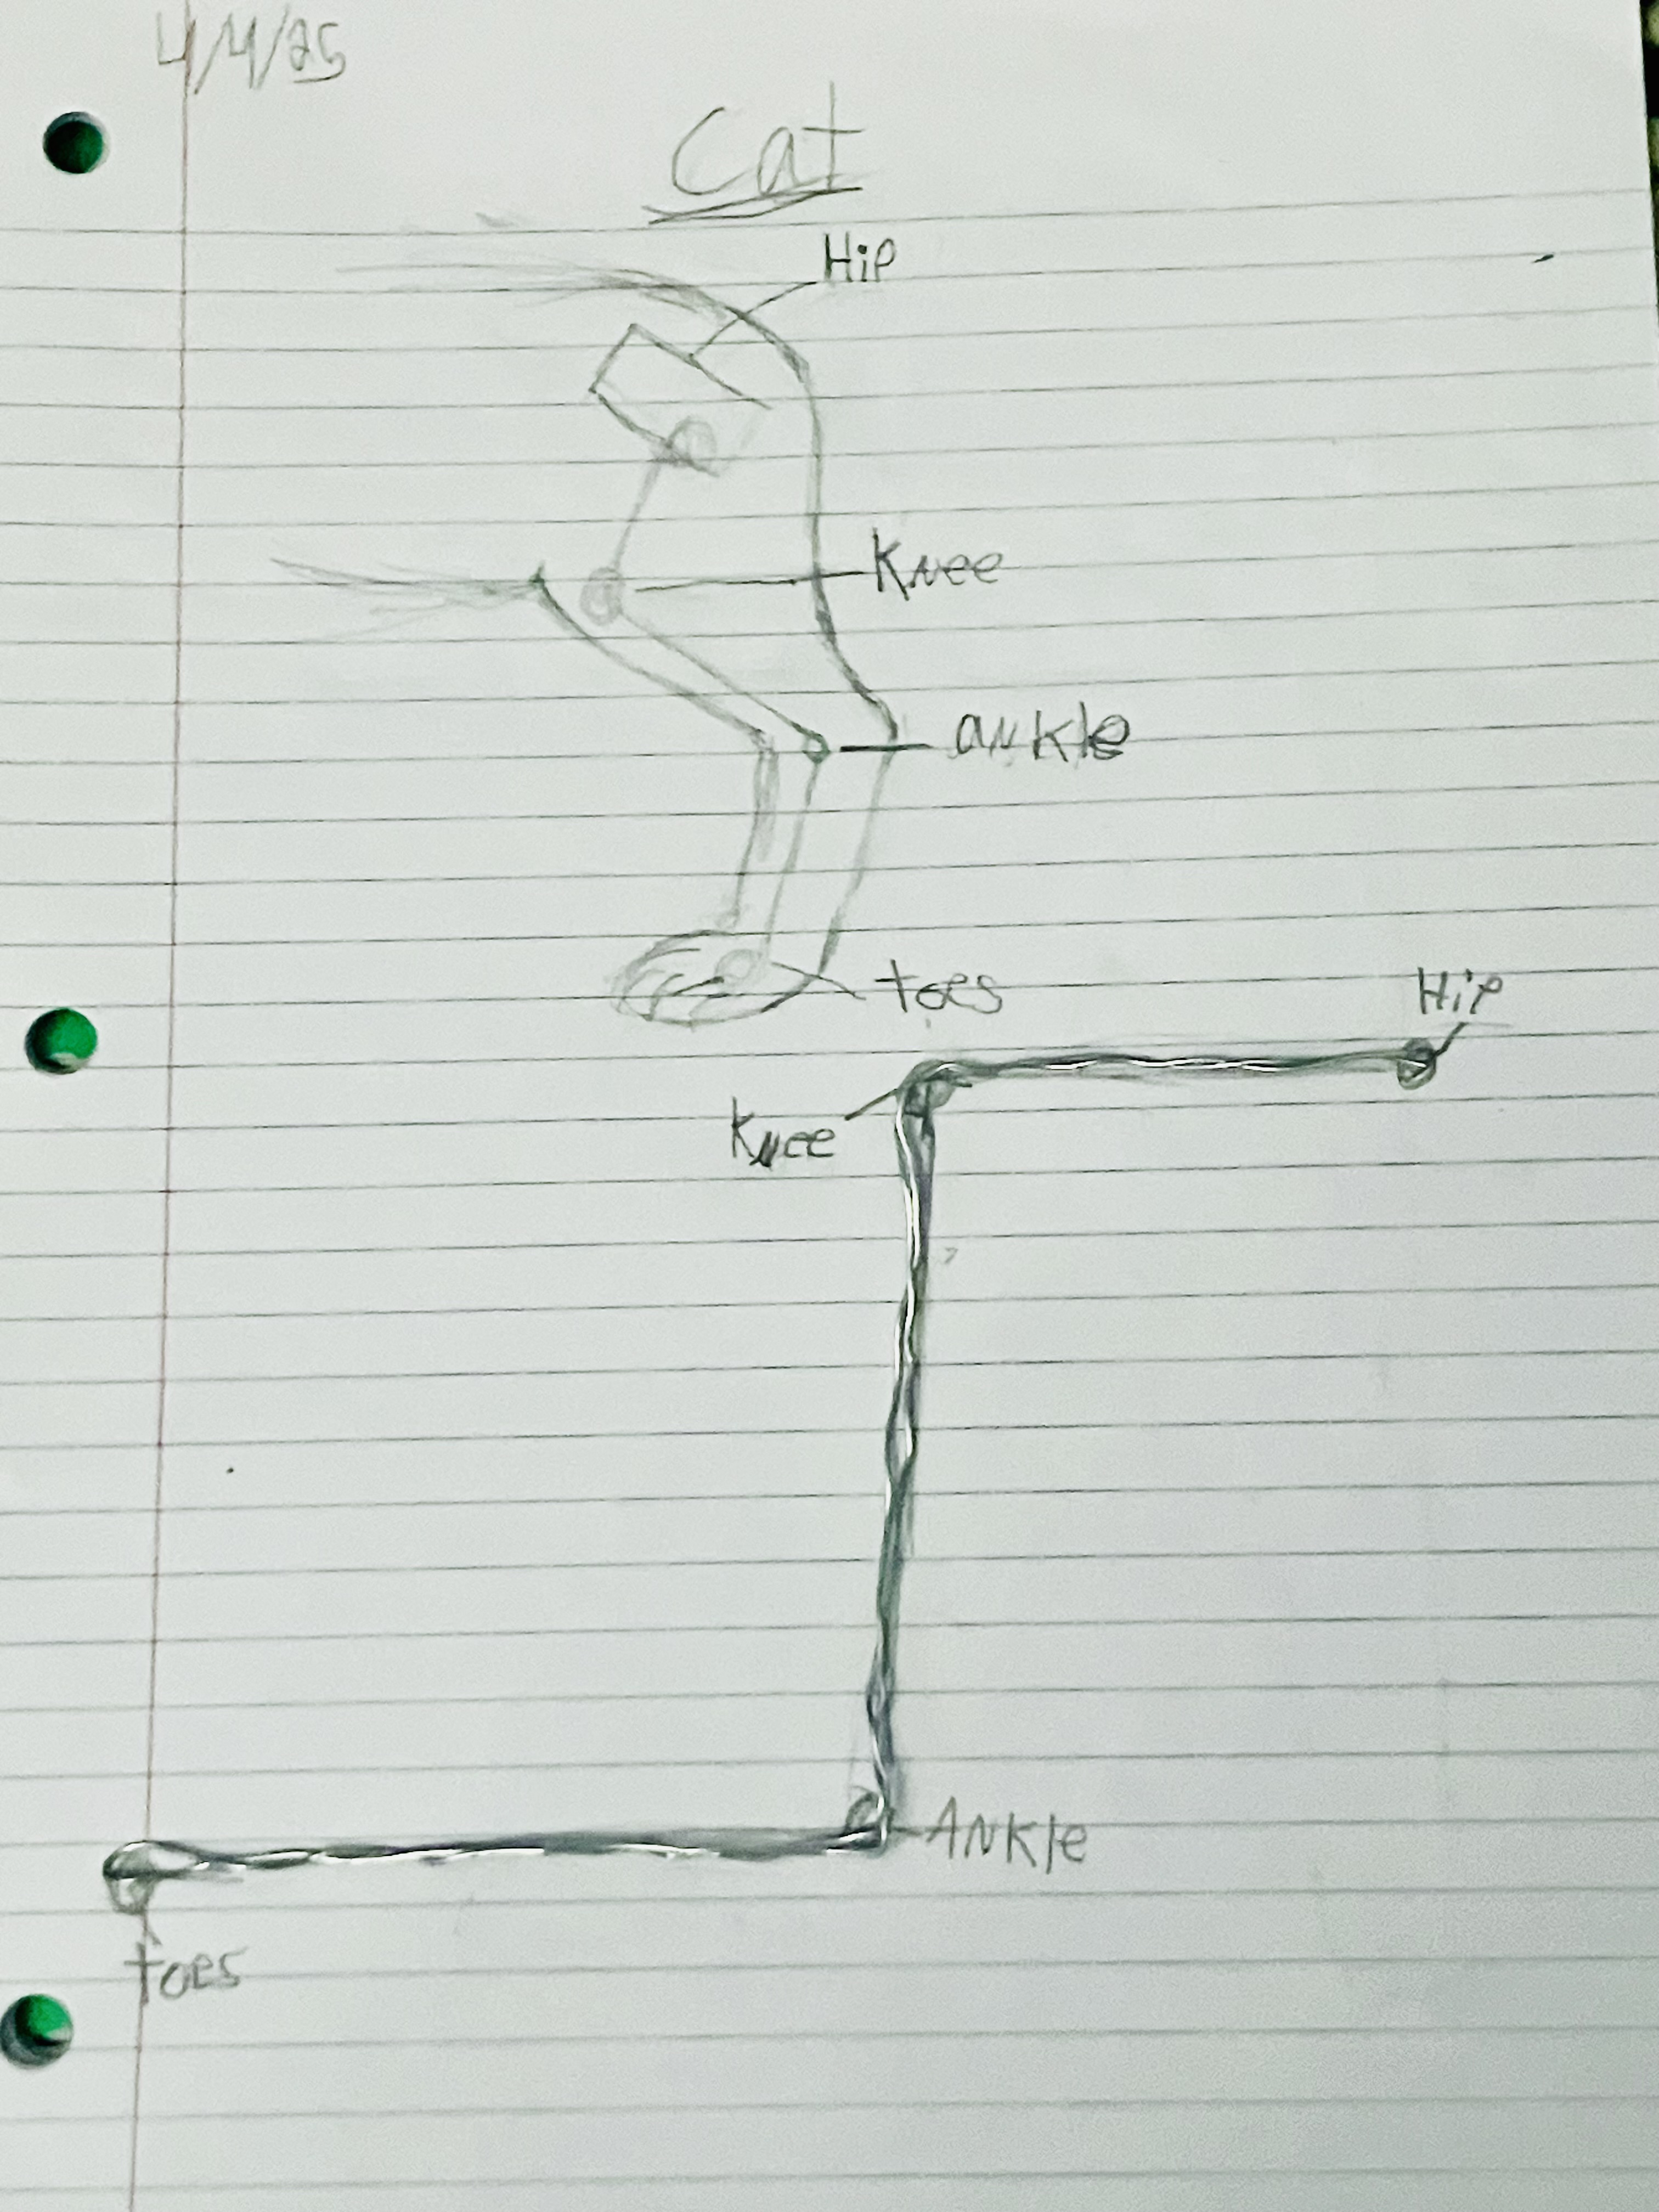
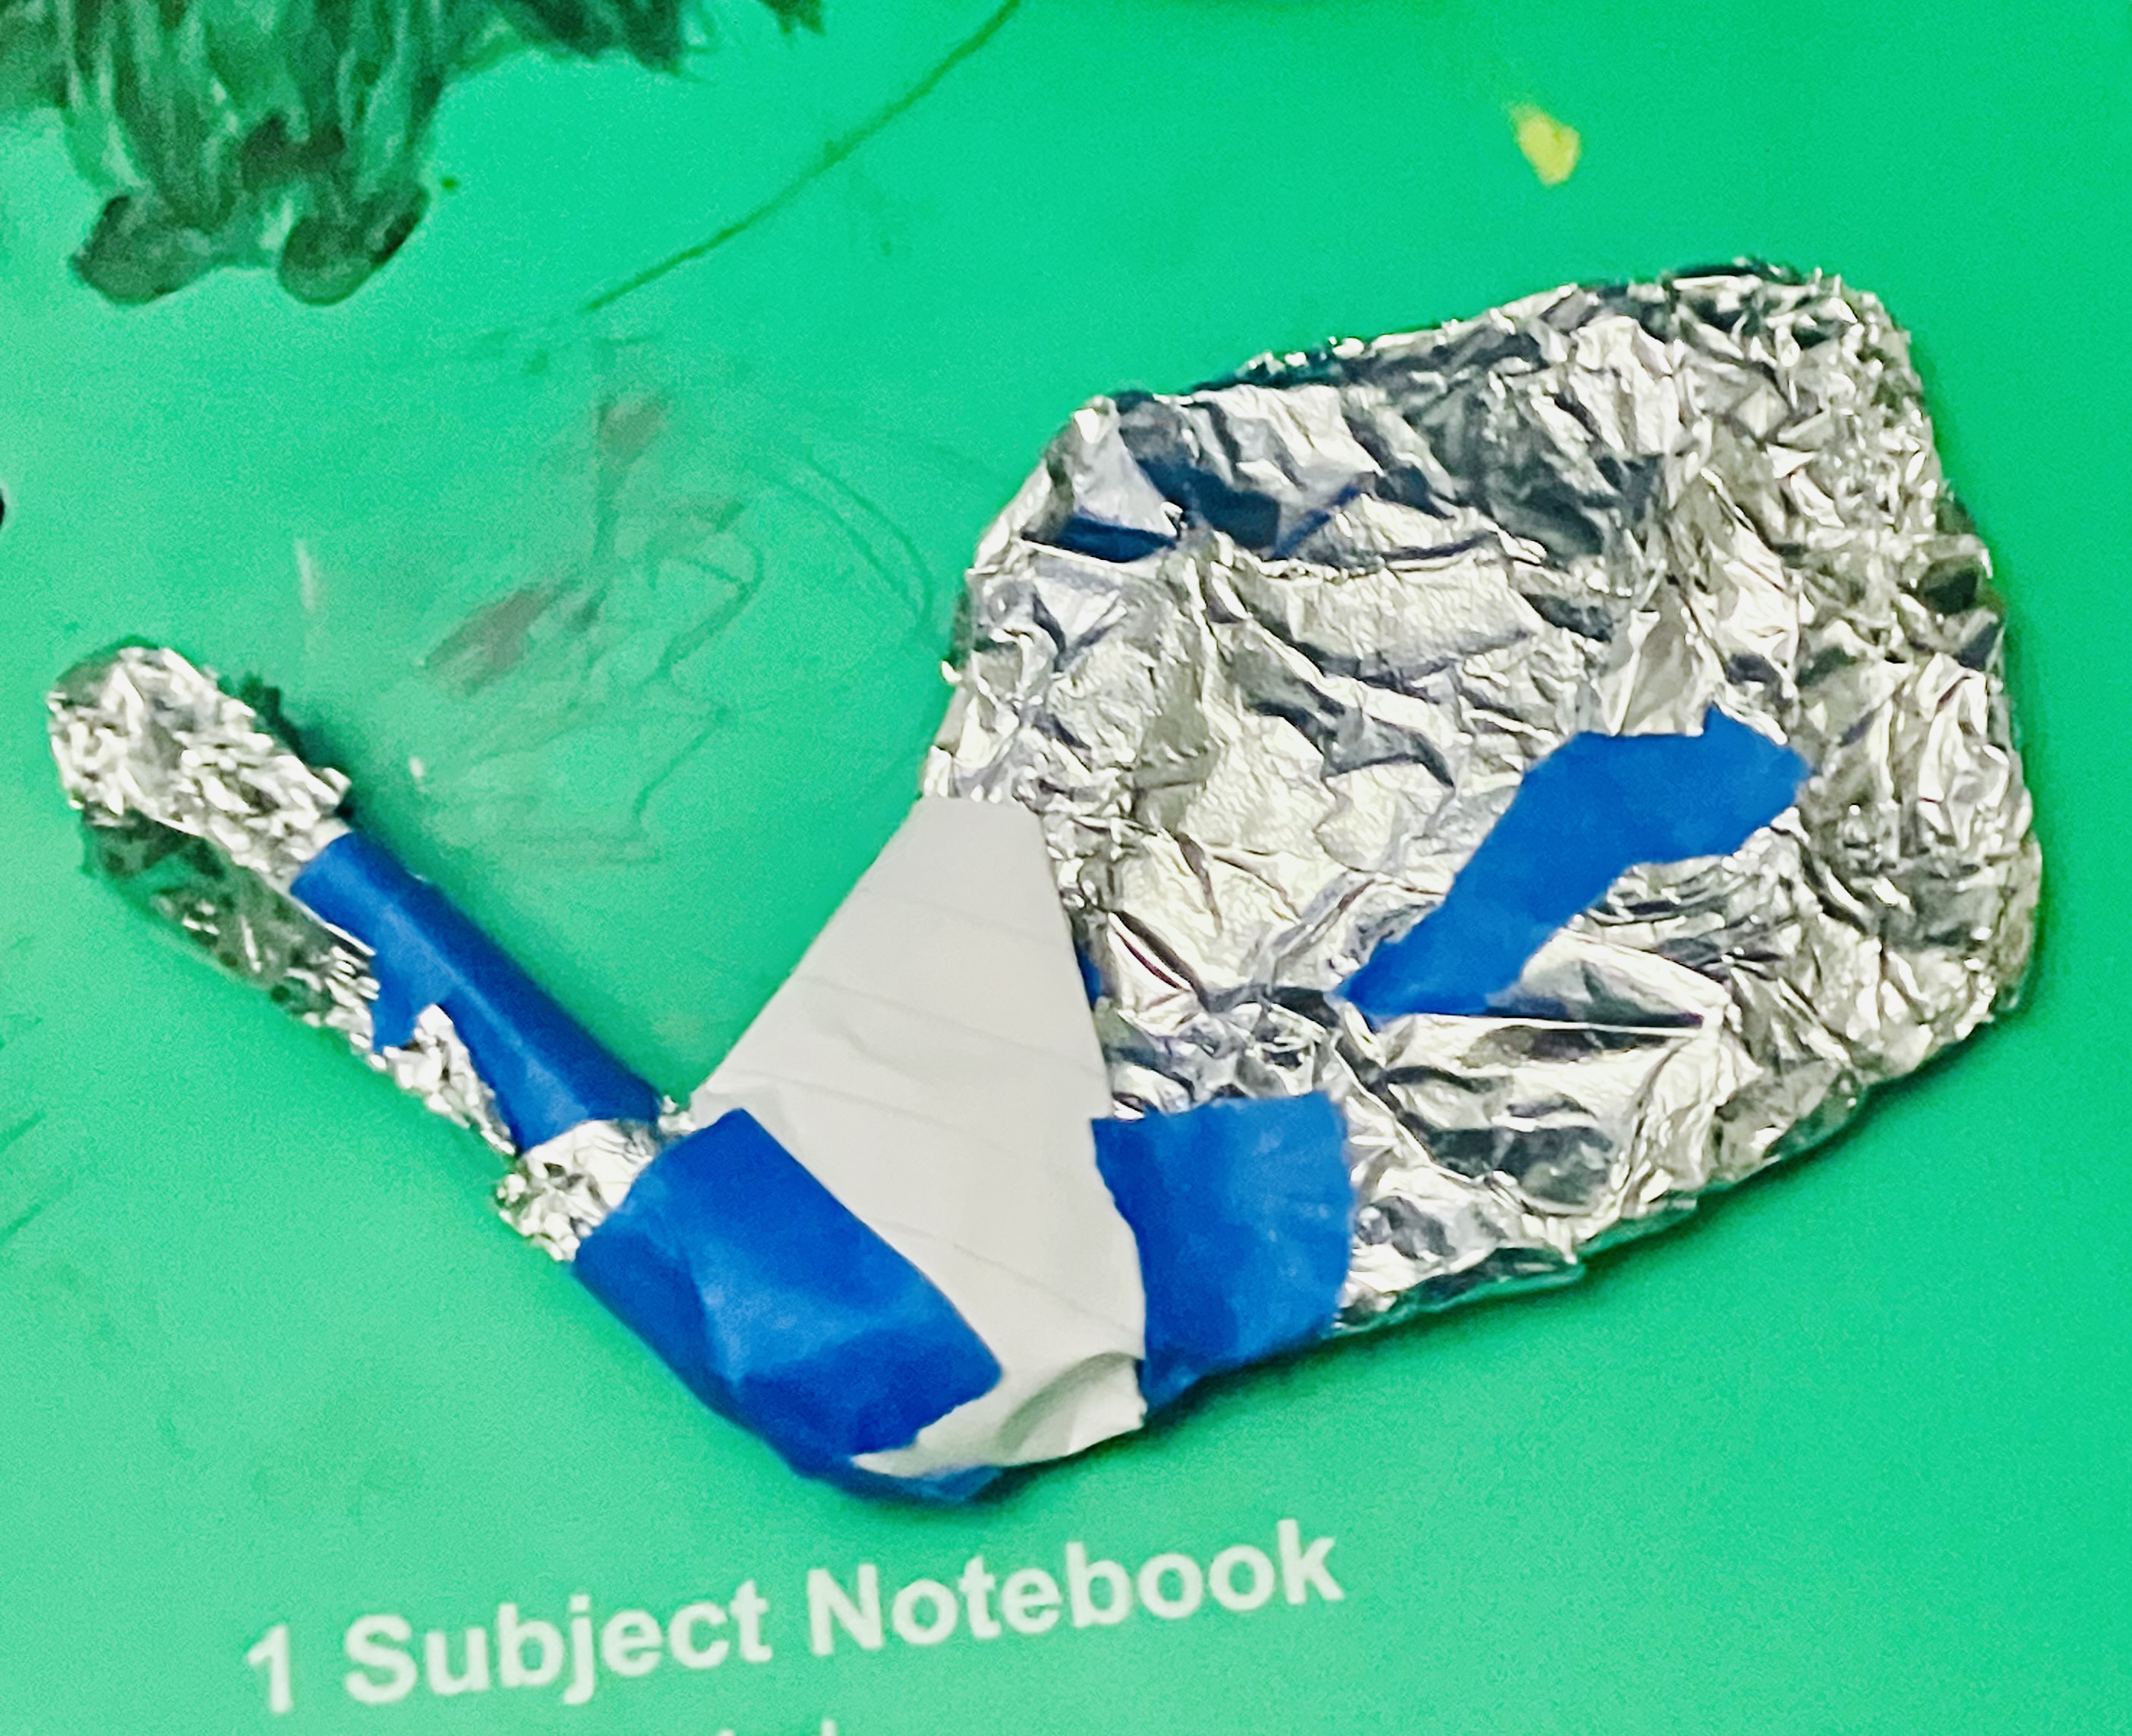
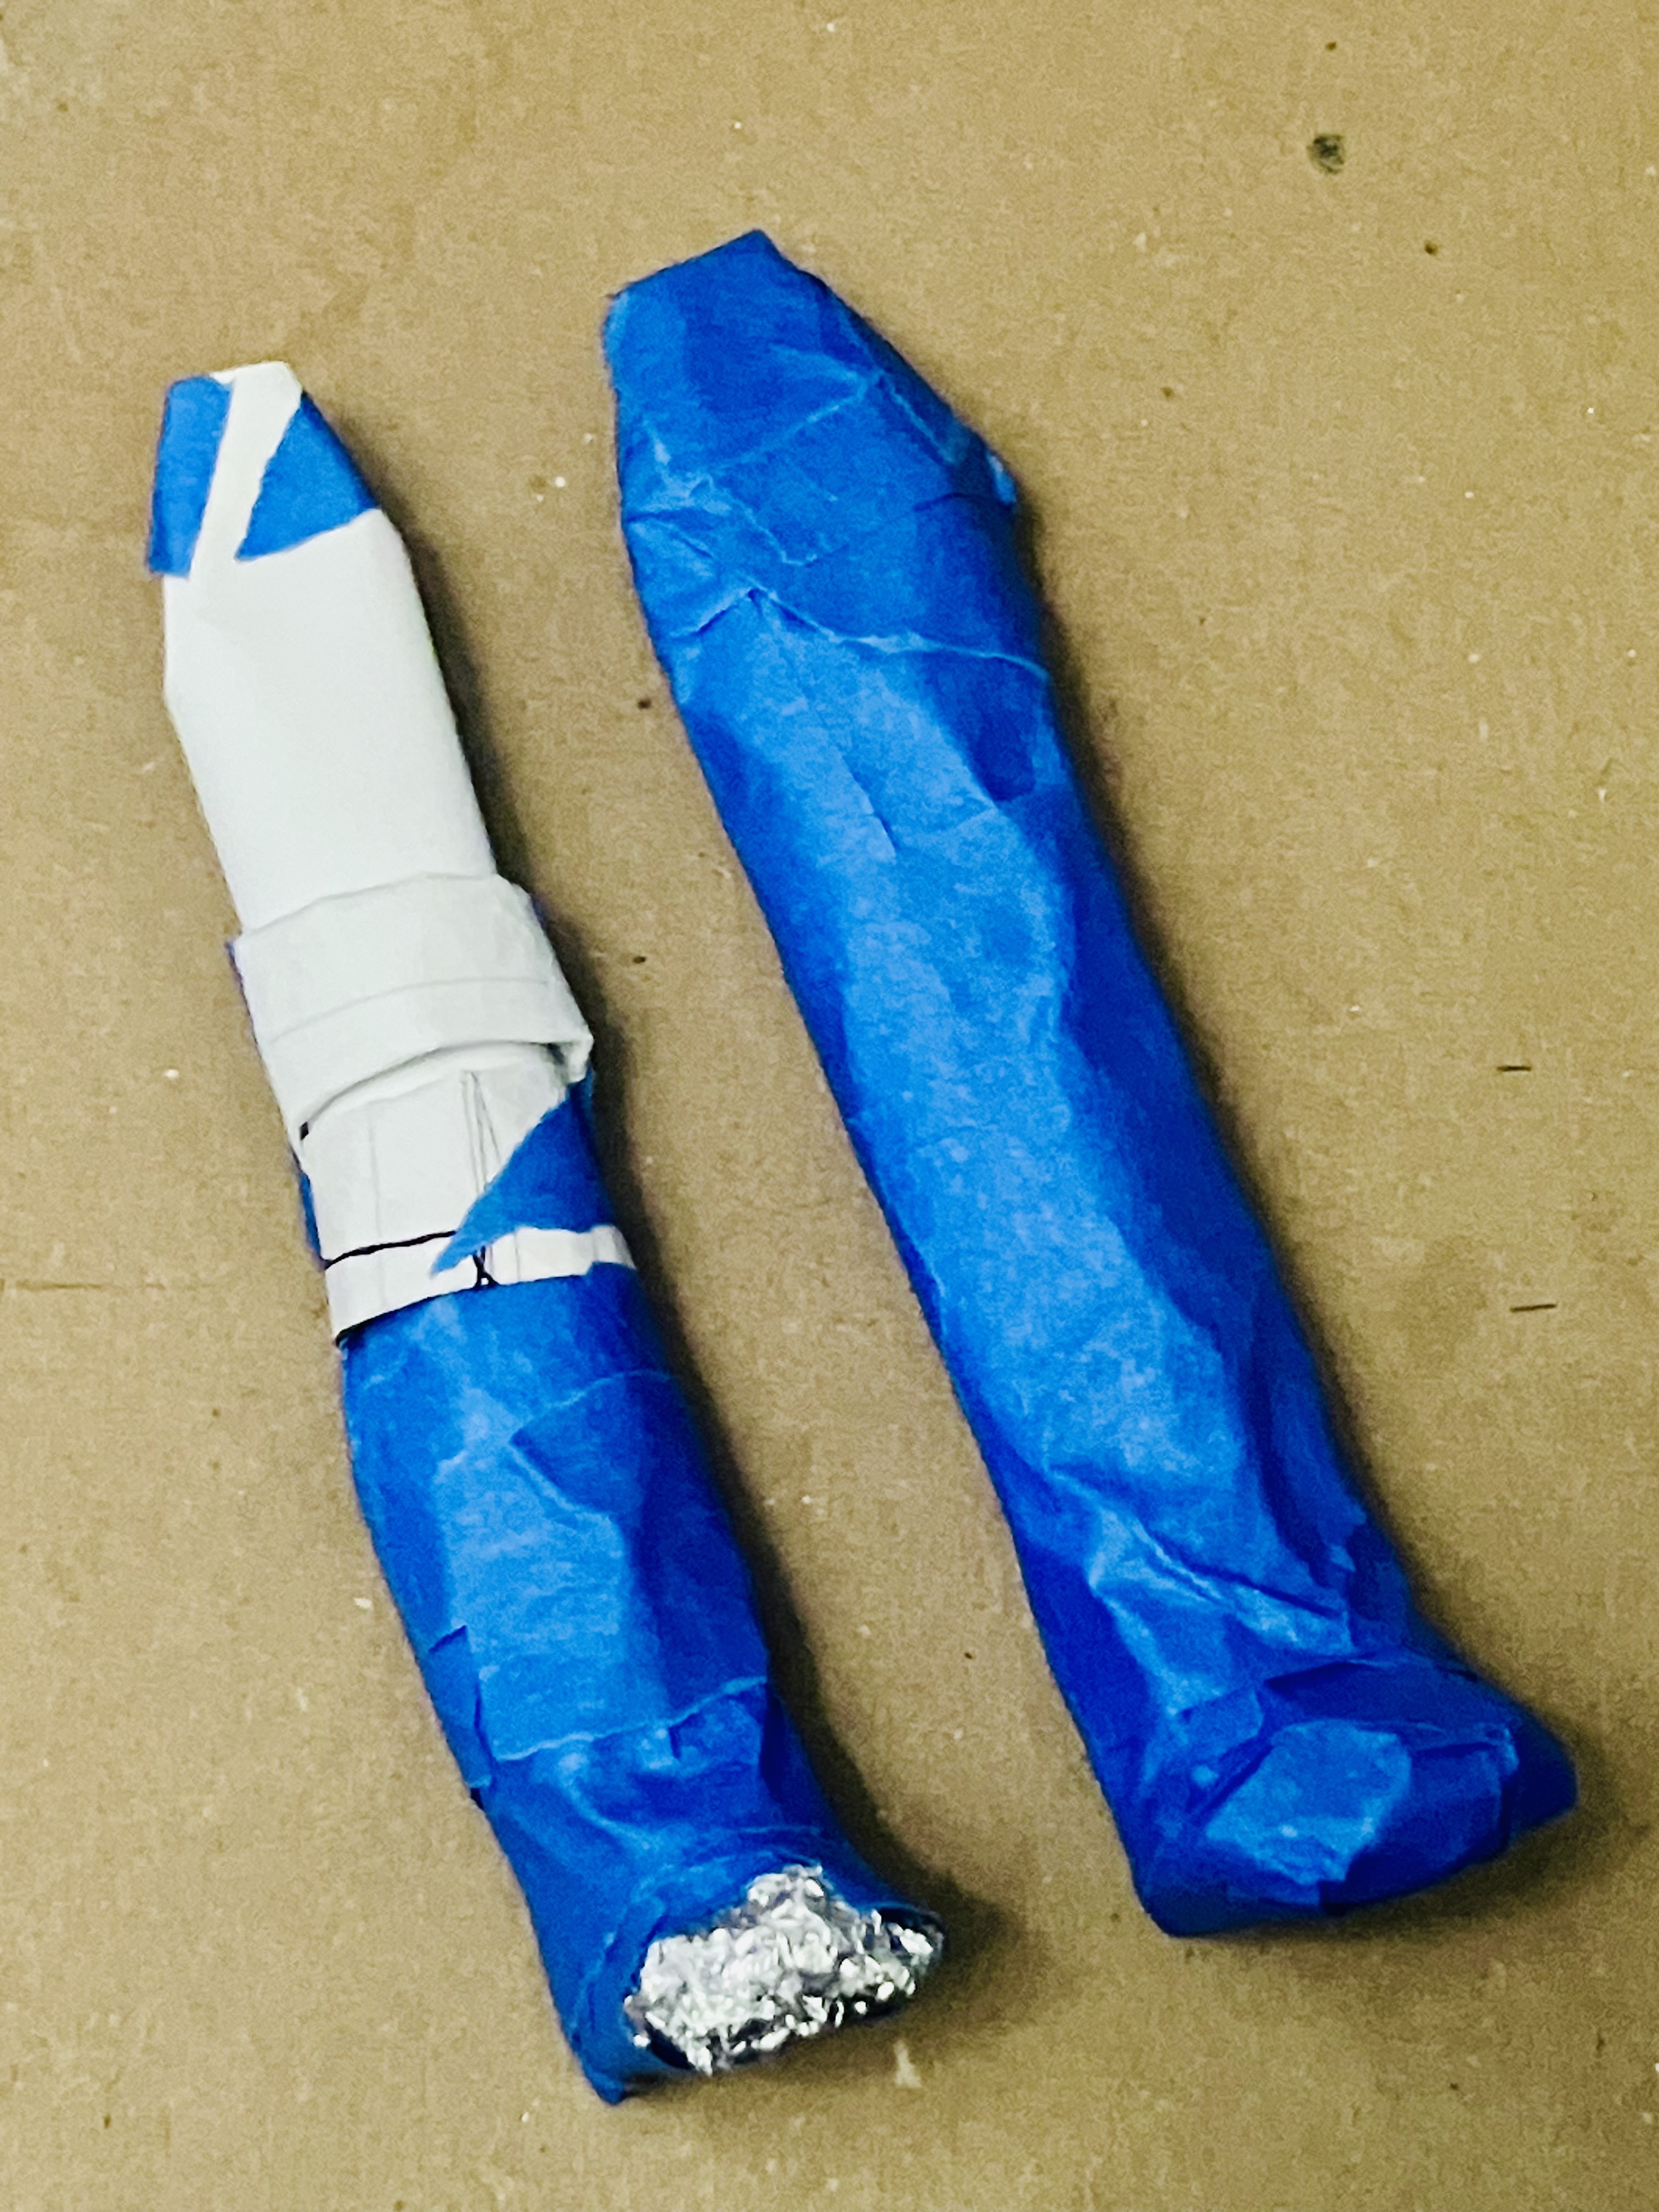
- Next up is the limbs: I find this part to be one of the most difficult because it’s harder to make realistic, the left and right sides often need to line up, and attaching them to the body can be tough. For a more detailed sculpture, I recommend using sculpture wire to form limbs like extended arms, a tail, or a neck, and sculpting aluminum foil to create more detailed elements and facial features. If the limb is especially complicated I might sketch it out beforehand using reference photos.
- The last thing to do is attach the head, limbs, and tail. For most limbs you can just attach them on with masking tape, but for heads, tails, and more complicated limbs I would use sculpting wire to extend out from the body so that I have something sturdy to attach onto.
- At this point, you should have a complete form that is fully sealed with masking tape. Make sure there are no flimsy pieces of tape sticking out or loose or weak joints. Fix or change any structure if needed at this point, as it will be hardened with paper mâché in the next step!
Starting the Paper Mâché Process
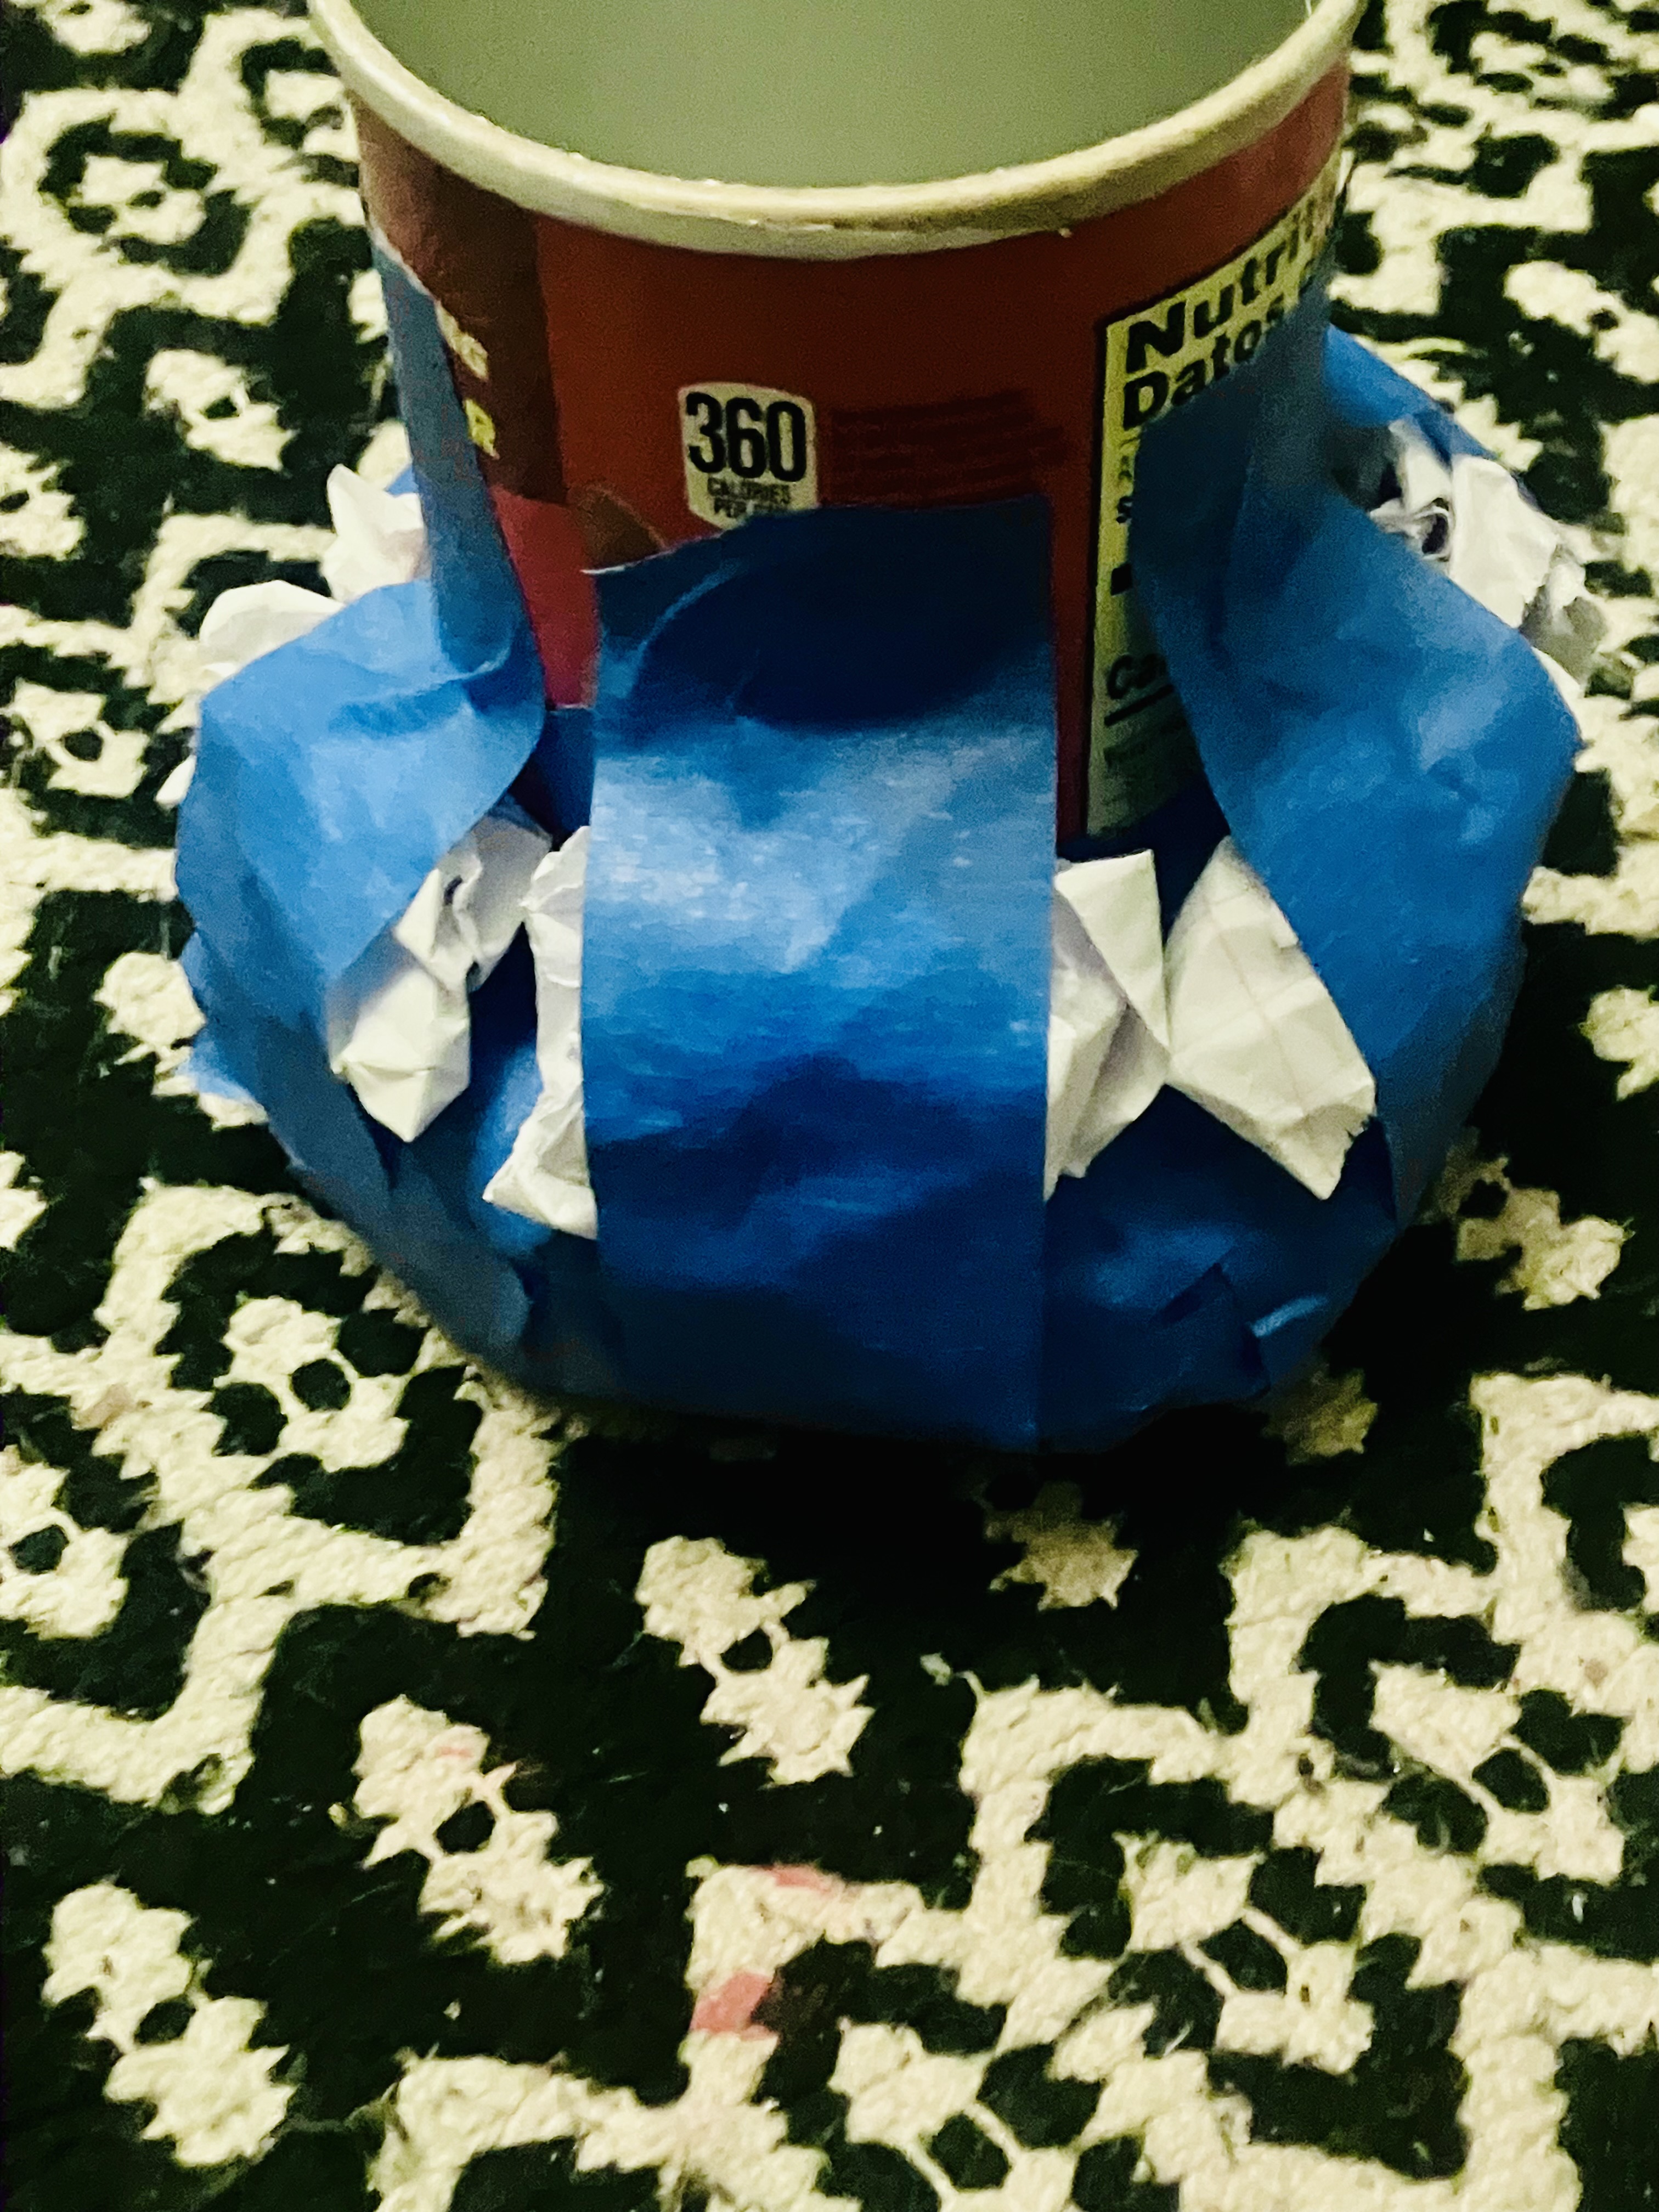
- We’re now starting the paper mâché process! At this point, move to a kitchen counter or large table, preferably one that is easy to clean. Lay newspaper down if needed, but I suggest working directly on a kitchen counter because it is easily wiped off. Because the mixture is mainly just Elmers glue and water, it’s not a worry to have in your kitchen.
- Gather the Tupperware bowl and disposable plastic water bottle. There are multiple styles of making paper mâché, including using shredded paper or finely shredded paper to make a “clay”, but I personally prefer using paper mâché strips because it is easier to create, use, clean, and creates a thinner layer and leaves the details of the body more crisp and intact.
Paper Mâché Mixture
- ___ inch/cup(s) of glue
- ___ cup(s) of water
- ___ sheets/strips of paper
- Take the empty plastic water bottle and fill it with glue until it’s about an inch high (see photo for reference.) Fill the bottle the rest of the way up with water, leaving air at the top so you can still shake it. The glue may mix easier if you use warm water, but any temperature is fine. Twist the cap on tight and turn the bottle upside down as you shake until it’s fully mixed!
- Pour the mixture into the mixing bowl. If I have extra left I’ll keep the rest in the bottle for future use.
- Tear your scrap paper into strips, each about an inch wide, but you can go thinner or wider for sections with more or less detail. Repeat until you have a pile of strips, but if you run out later you can always make more as you go.
The Paper Mâché Process (The Messy Stuff)
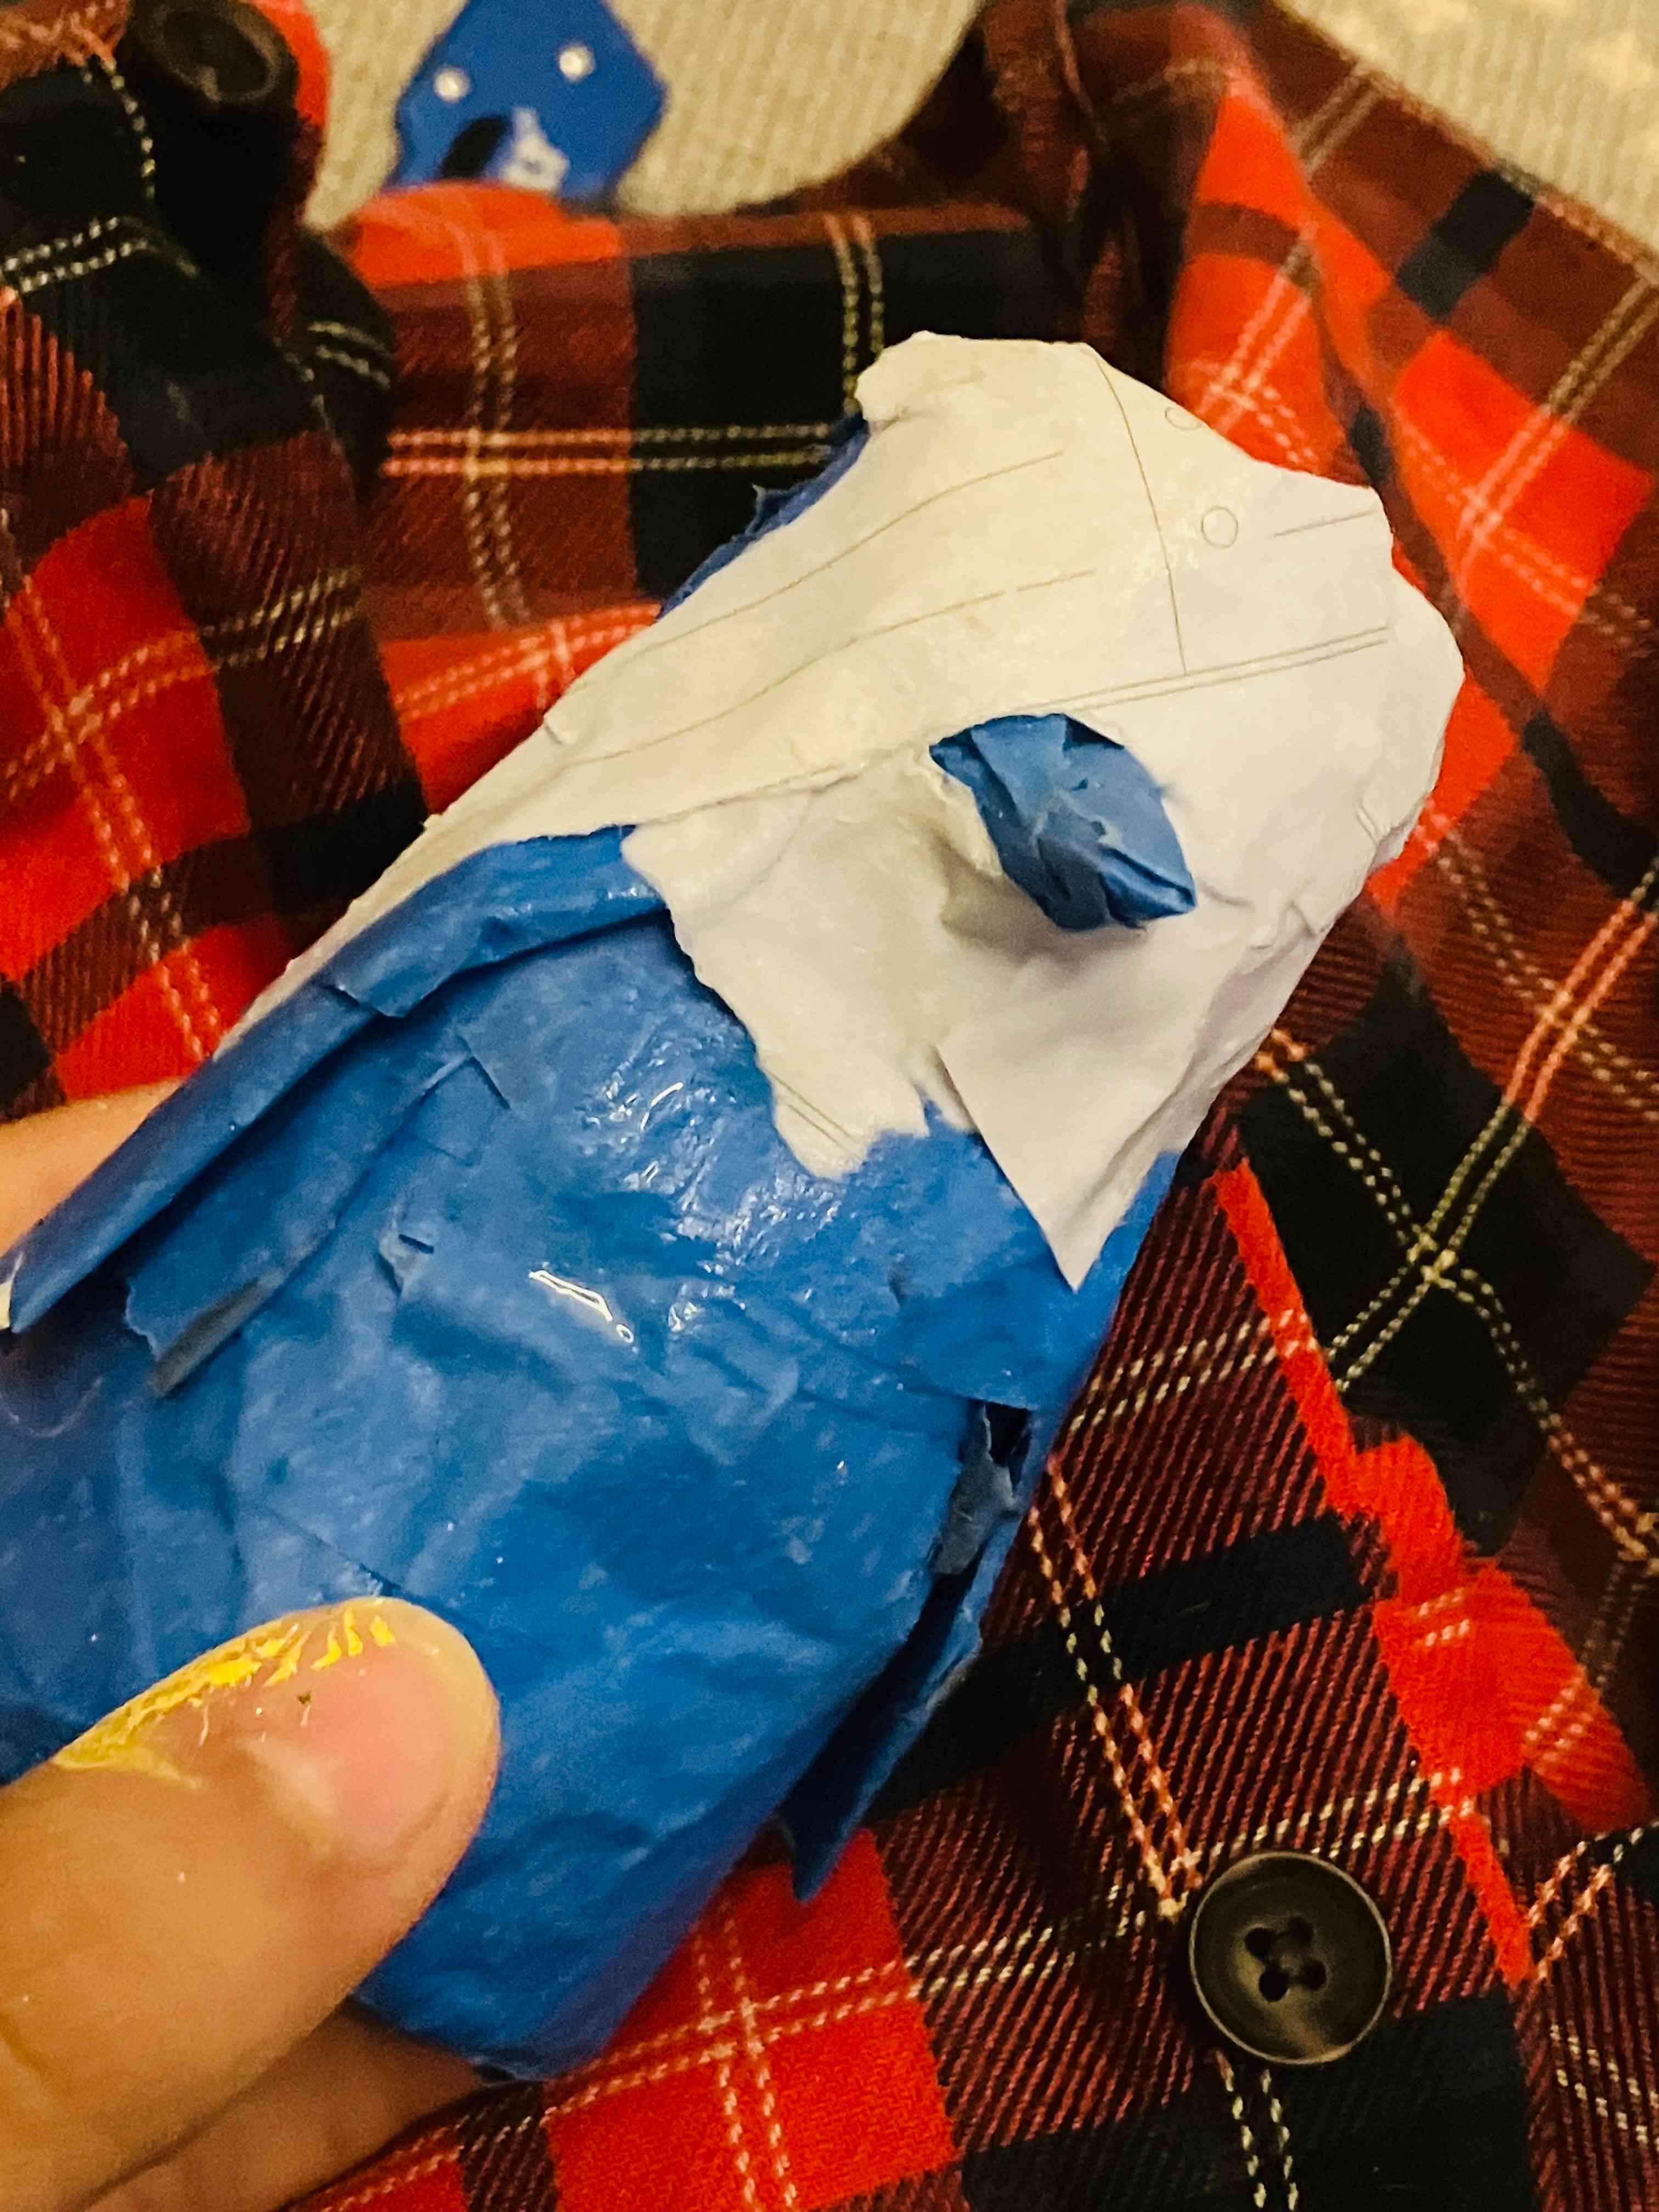
- Now that we’re at the messy part, grab the body: we’re finally about to do the real paper mâché-ing! Start by dipping each strip into the mixture and pasting it onto the body. I generally start from the bottom and work my way up, but cover the actual underside last. Follow a general ringed pattern, and take care to have corners covered.
- For limbs and rounded parts like paws I’ll fold the paper like wrapping paper to create curvature and keep details intact. Keep in mind that your paper mâché strips are wet and will tear easily, but if they do (and they often will) don’t worry, you can just fold them flat. Getting a smooth fold is extra difficult for thin shapes like ears, but do your best to get a good cover.
- If I have a small body, I’ll generally cover the bottom in the same way before placing it on its back or side on the rim of a glass or mug to dry; if the body is large I’ll leave the underside until after the rest is dried overnight and then I’ll rest it on its side and finish the bottom.
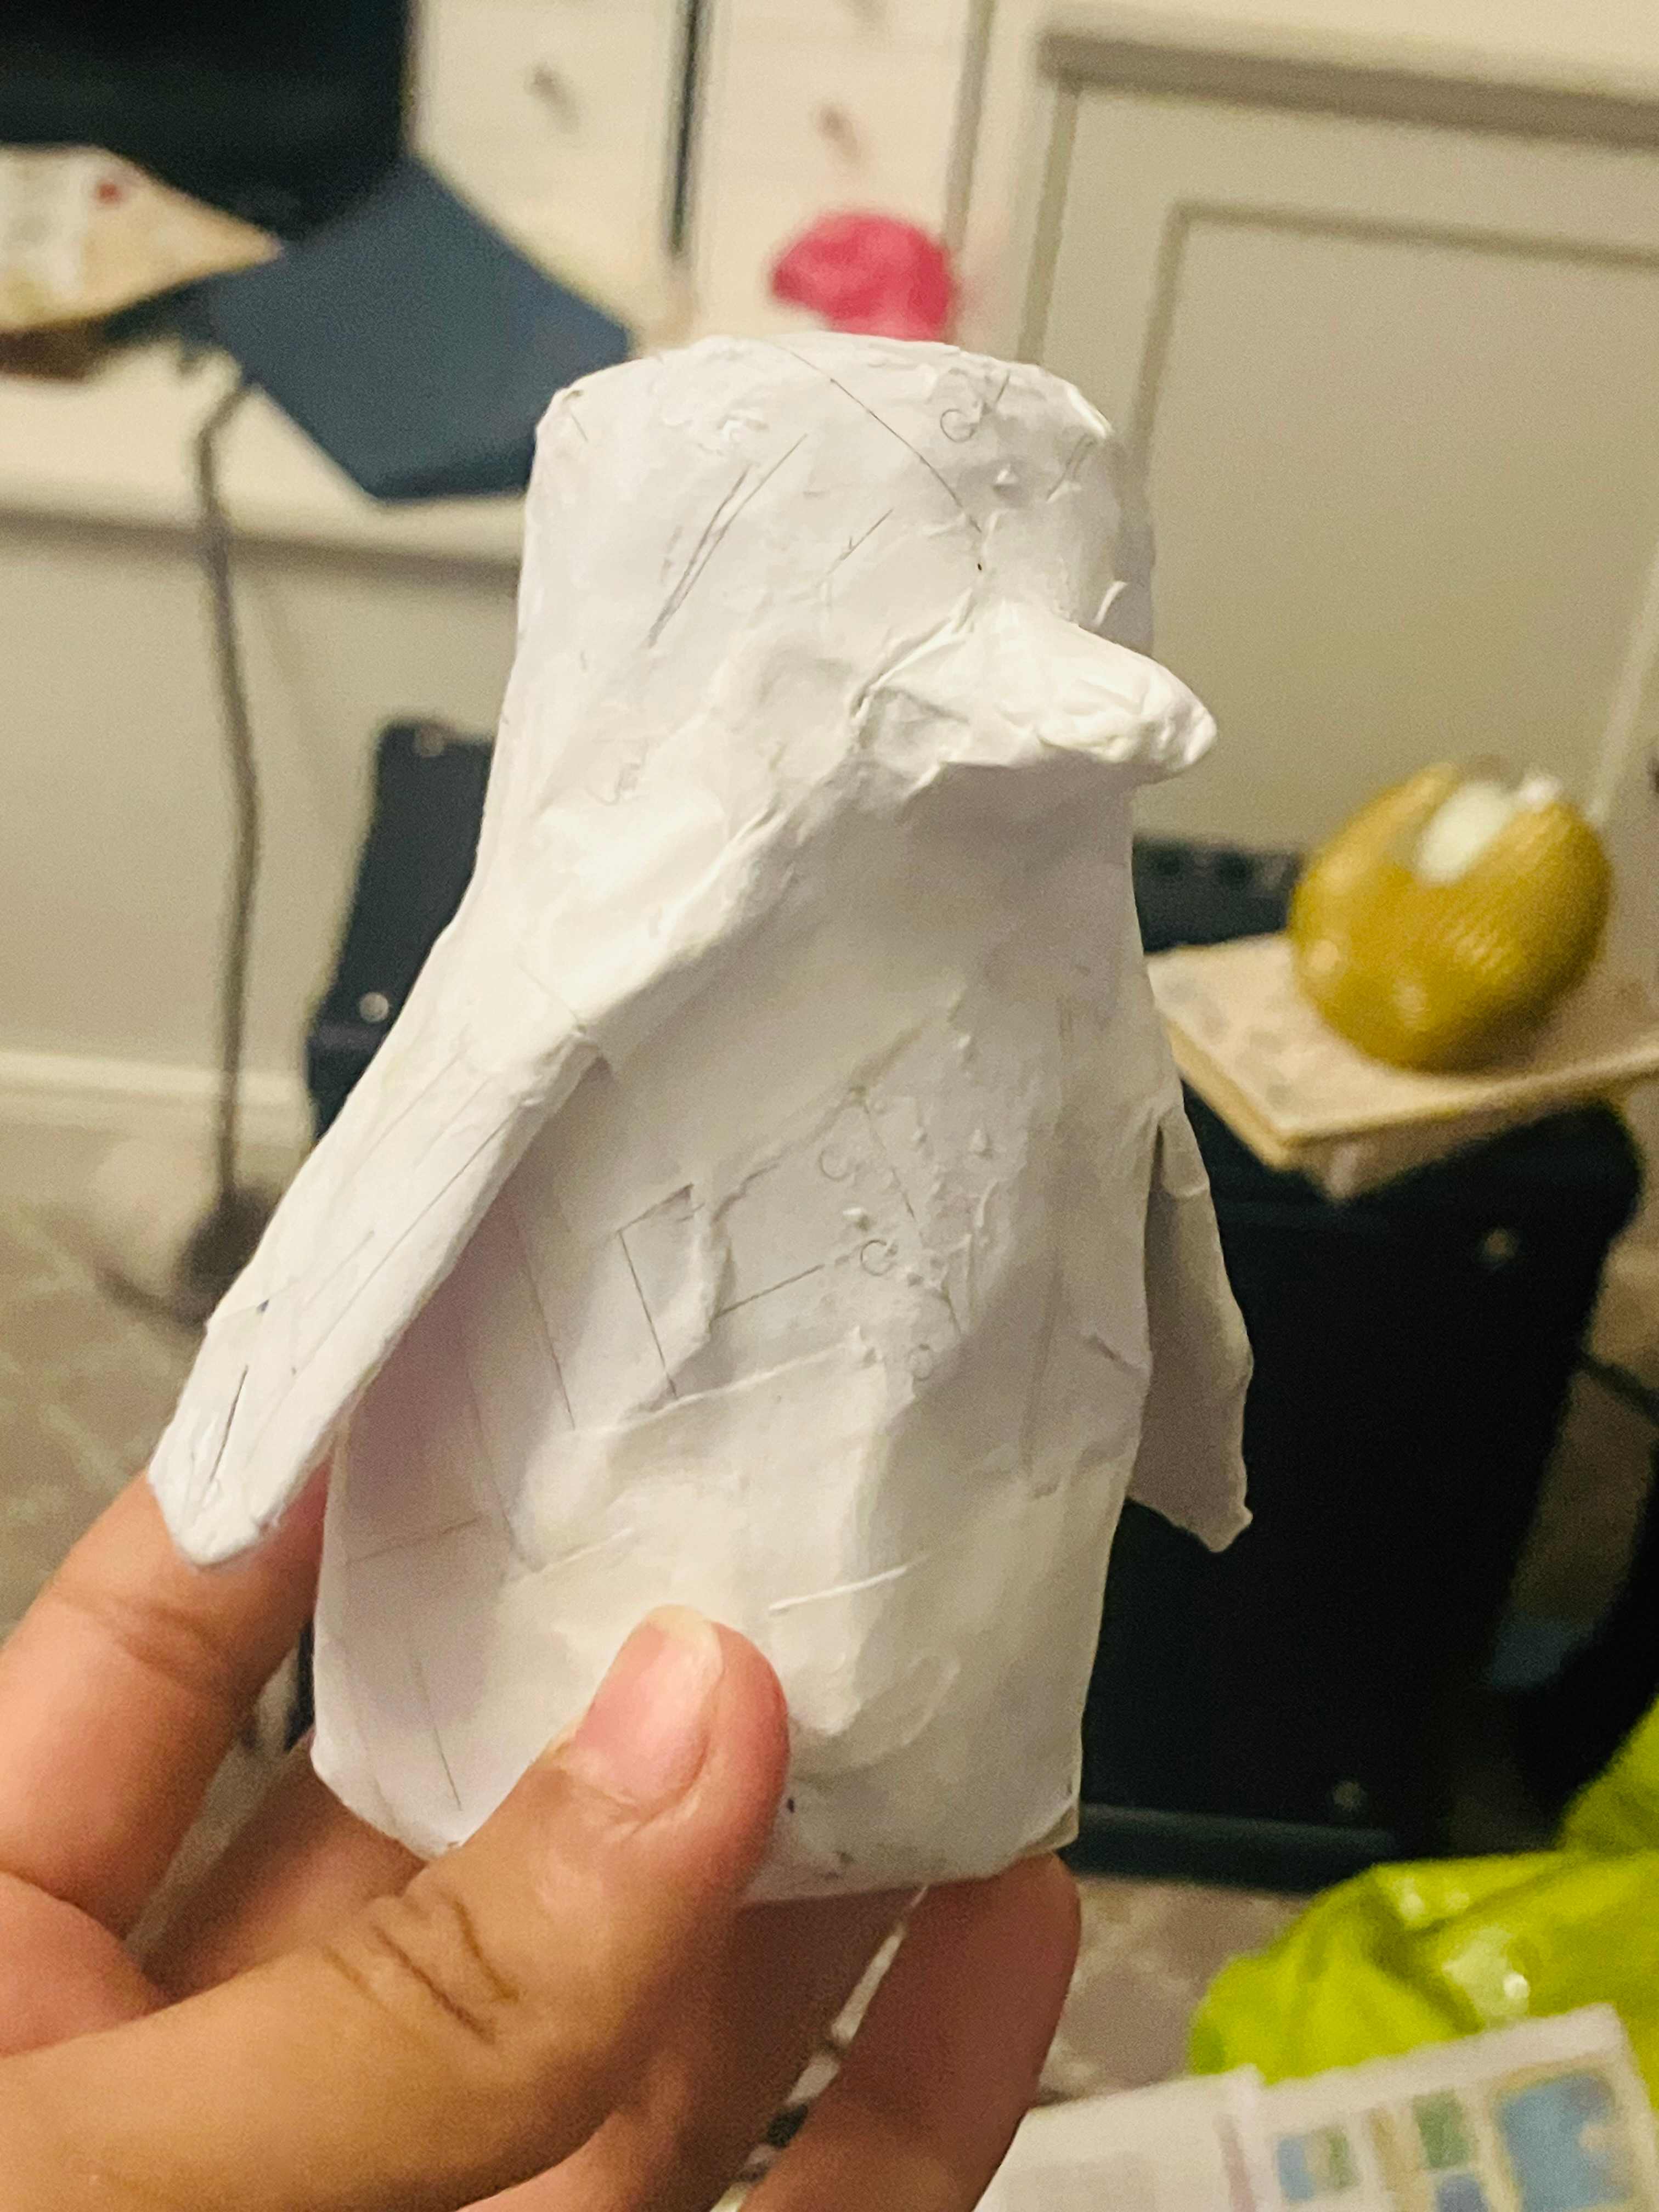
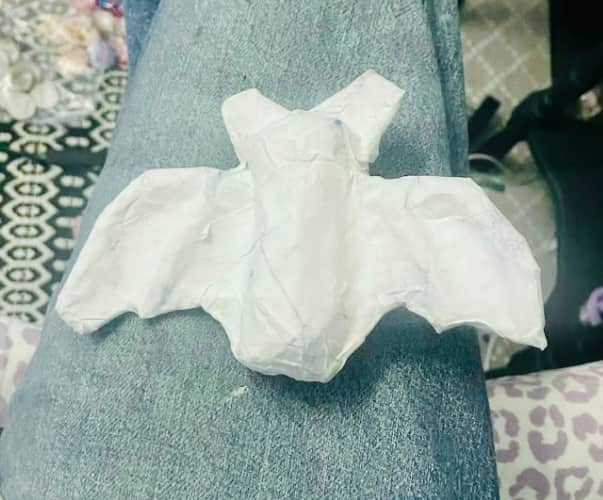
- Congrats, you’ve finished the paper mâché process! At this point the whole body should be covered in paper mâché. Now we just have to wait for it to dry. Set the body over a cup or bowl to dry overnight. If it isn’t fully dry the next day, flip it over and let it sit for another few hours.
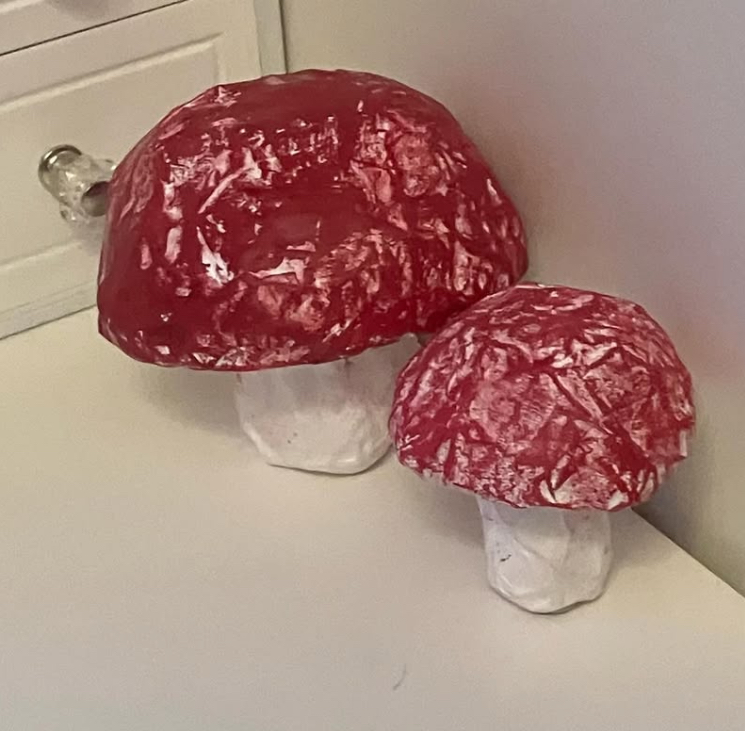
Painting and Decoration
- We’re about to start painting and decorating! This will be the final part of the process: at the end of this you will have a fully finished art piece. Plan out your design by sketching out the idea and look up reference photos if needed. Start outlining your edges on the paper mâché with a pencil or pen.
- Once you have a finalized design, find a comfortable place for painting and lay down paper if you need. Gather your painting materials (brushes, paint, cup of water) and start painting! This step is the most creative so feel free to make it your own. You can range from cartoonish to realistic, or from high contrast to highly blended. I generally finish the base coat and let it dry before adding the finer details like eyes and other facial features. You can also always touch up edges and hard to reach places once it’s dried.
- After all the paint is dried and you’re happy with your design, I recommend adding a top coat. My favorite is matte Mod Podge, but you can also get it in gloss or sparkle. I prefer the matte on top of the acrylic paint because it keeps a slight shine to it, but you can always add more coats to make it more matte.
- If your design includes decorative materials like glitter, beads, paper cutouts, fabric, and dried flowers, now is the time to glue these on (feel free to use Elmers, hot glue, or even more Mod Podge.) You can add an extra top coat over these as well to seal them in.
- That’s the final step, you’re done! Celebrate by looking around the house and finding a home for your cool new art piece.
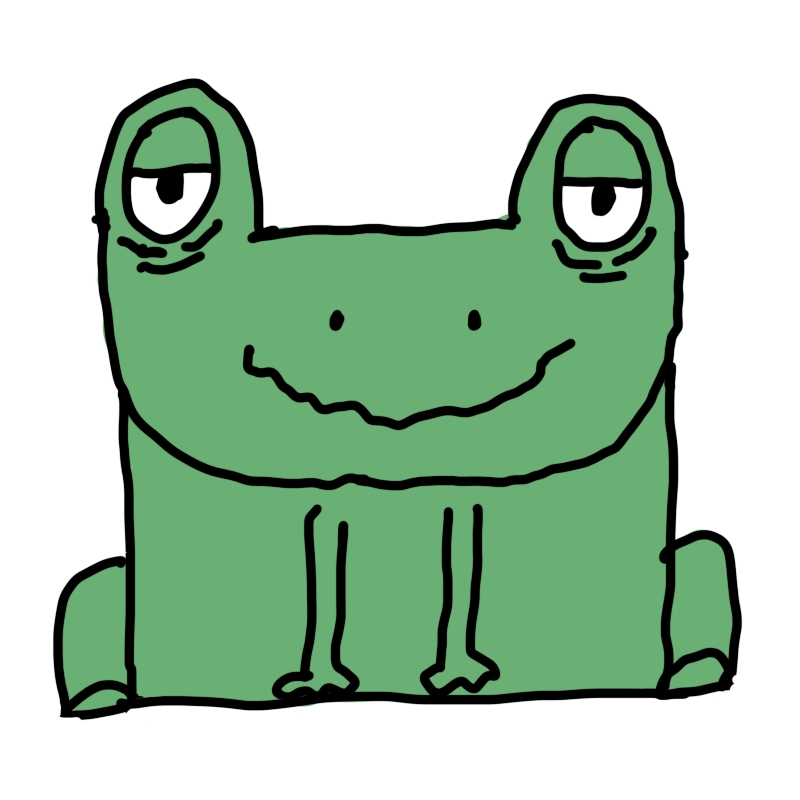
And that’s the full paper mâché process—I hope you enjoyed it! If you’ve followed along and completed your own art piece I’d love to see it: you can tag me on Instagram at @froggie_4 or send any questions, or suggestions to my email at [email protected]. Best of luck on your paper mâché journey, I’m excited to see what you make next!
 HomeAboutPaper Mâché